There are a number of cases where you might not be able to use a cloud service to host your model and would be required to roll-your-own inference service. In many large enterprises, on-premise solutions are mandatory. Approvals to purchase third-party solutions can also be lengthy and complex. So developing your own small service may be the best solution.
The demo we will develop here will be a proof-of-concept demonstration of how to load and host your model but won’t go into issues around security, authentication or load balancing.
Developing The Model
The first stage is to develop a model. You may already have a model that you’ve been training that’s ready to be deployed. There are a few ways to ready your model for deployment using TensorFlow. You can use the SavedModelBuilder functionality that we previously used to export our game AI to use with Go. Or you can use TensorFlow’s ‘freeze graph’ functionality to export the entire graph as a Protocol Buffer to use for serving.
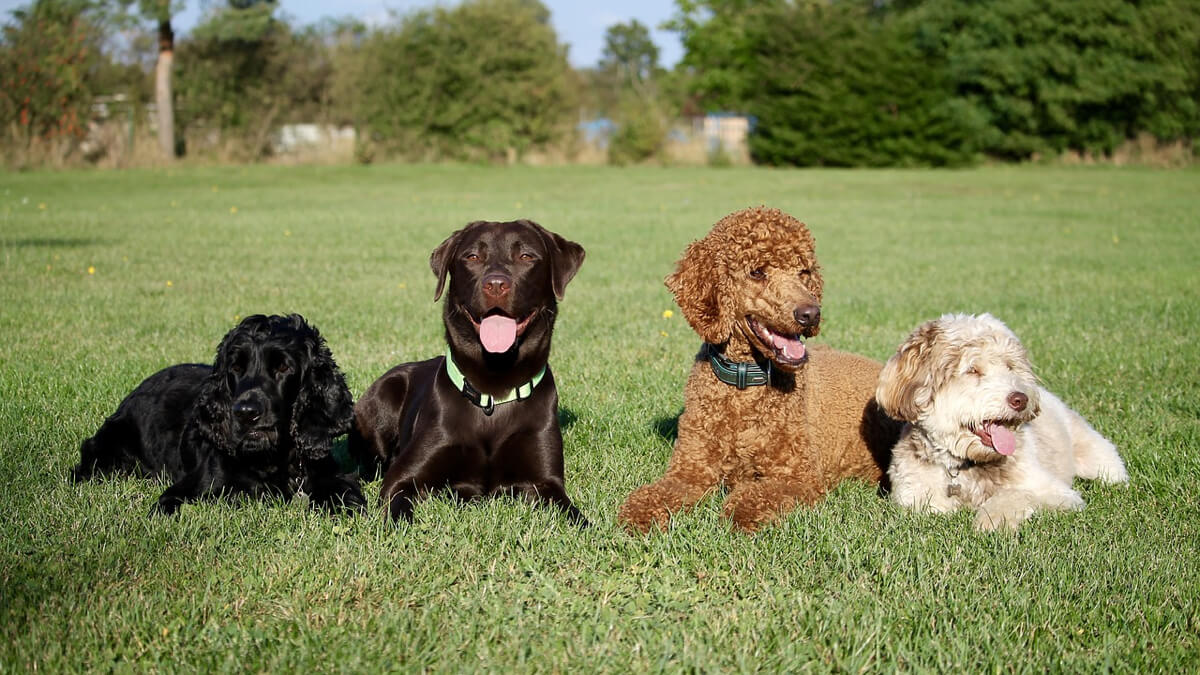
For our demo, we’ll develop a super-powerful AI that is able to determine the difference between Poodles, Pugs, and Weiner Dogs (Dachshunds). For this bleeding edge technology, we can use a retrained version of Google’s Inception or MobileNet models.
Now, much like the famous Silicon Valley ‘Not Hotdog’ app, our actual dog identification algorithm will surely be of great utility to the human race. So once we’ve trained our model to identify these key dog breeds we’ll want to create a service to make it available to the world.
Retraining the Inception or MobileNet models is actually extremely straightforward. You can train it to classify entirely new categories of objects simply by providing a series of images in a labelled subfolder. It will then take those images, classify them with the label (ie. the folder name) and output a newly trained model in .pb format.
TIP: If you’re looking for an excellent introduction and tutorial of how to retrain these models, you can work through this codelab provided by Google.
For performance reasons we’re choosing the MobileNet model. It is optimized for use on mobile devices. This model sacrifices some accuracy for speed but works pretty well for our use case.
We can then adapt one of Google’s label scripts that contains useful utility functions for loading graphs and transforming images into tensors to use with TensorFlow. This adapted script will become the basis for our inference service.
Building The Service
Once we’ve re-trained our model and exported it to disk we can host the model as a service. We’ll load the model from disk with a simple function that takes the graph definition directly from the file and uses that to generate a graph. TensorFlow does most of this for us:
def load_graph(model_file):
 graph = tf.Graph()
 graph_def = tf.GraphDef()
 with open(model_file, "rb") as f:
   graph_def.ParseFromString(f.read())
 with graph.as_default():
   tf.import_graph_def(graph_def)
Using Flask, much of the heavy-lifting around configuring a server and handling requests is done for us. After we’ve created a Flask app object:
app = Flask(__name__)
Then we can easily create routes for where our classification service will live. Let’s create a default route to our classify() function that will allow us to pass an image to the endpoint for identification.
@app.route('/')
def classify():
Using the decorator syntax to define the route, it will configure the service so that our classify() function will be called every time someone hits the root of our service address. We said we wanted users to be able to specify a file to be identified so we’ll store that as a parameter from the request:
file_name = request.args['file']
In an actual app we’d probably populate this from a form attachment or URL. For our example we’ll simply let users specify a path to the file that they want identified.
We can then read the image file and turn it into a tensor to be used as input to the graph we loaded previously. The base script included a number of useful functions including read_tensor_from_image_file() which will take the image file and turn it into a tensor to use as input by using a small custom TensorFlow graph.
Running the inference on our graph with this image is again quite straightforward:
       results = sess.run(output_operation.outputs[0],
                     {input_operation.outputs[0]: t})
In this line, the variable ‘t’ represents the image tensor that was created by read_tensor_from_image_file() function. TensorFlow will then take that image and run the new retrained model to generate predictions.
Those predictions come as a series of probabilities that indicate which of the classes (poodle, pug, or weiner dog) is the most likely. Since this is just a prediction service, it will simply return a JSON representation of the arrays.
Inside our script we can start our service with:
app.run(debug=True, port=8000)
Then, if we want to launch the script from the command line, all we have to do is run `python app.py` and it will initialize and start running on port 8000.
Using The Service
We can now use this service either by visiting it in a web browser or generally making any REST call on that port. For an easy test we can access it using `curl`:
curl localhost:8000?file=path/to/poodle.jpg
So, if we feed it the following image of my standard poodle, Orion, let’s see what it says:
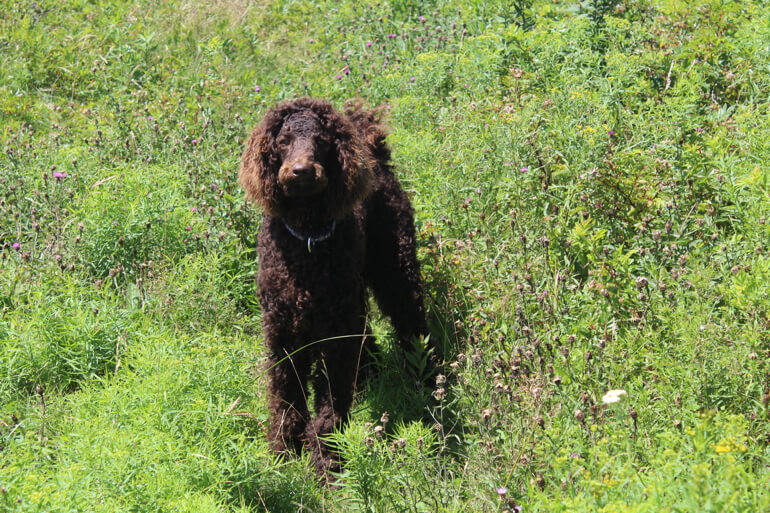
The output is:
[
  [
    "poodle",
    "pug",
    "dachshund"
  ],
  [
    0.9994891881942749,
    1.1696176443365403e-05,
    0.0004991634050384164
  ]
]
Success! Our TensorFlow model is 99.9% sure that this guy is a poodle!
DOWNLOAD: The code and model for this post is available on GitHub in the tensorflask repo. You can download it and deploy your own super-powerful dog identification service!
Next Steps
There are obviously a lot of extensions required to turn this into a real-world production service. However, it does illustrate that hosting models as services is relatively straightforward and can be done quickly without writing a lot of boilerplate code.
There are a lot more components that go into turning this into a production-ready service and next time we’ll look at how to set up a data pipeline for automatic retraining, version control of training data and more.
Want to discuss? Contact us to find out how ActivePython can provide the fully configured data science environment you need. Or download ActivePython and get started free in development.
Image source: Katrinbechtel via pixabay care of Creative Commons (CC0) license.