Traditionally, your default Python was installed system-wide (also known as a global install), typically using an installer. But this meant that all Python dependencies would be installed centrally in the site-packages directory. If you tried to run more than one project, you could get dependency conflicts if one of your projects requires a different version of a dependency than another project. Today, the best practice is to install Python into a virtual environment to avoid dependency conflicts.
Virtualenv is a third party package that is popular for creating virtual environments. You can up pip to install virtualenv from the Python Package Index (PyPI), and then use it to create and activate a virtual environment by running the following commands from a CMD prompt on a Windows machine:
Ready to see for yourself? You can try the ActiveState Platform by signing up for a free account using your email or GitHub credentials. Or sign up for a free demo and let us show you how you can automatically build your Python environment in minutes.
> pip install virtualenv
> python3 -m virtualenv C:\Users\project1
> C:\Users\project1\Scripts\activate
You can then pip install Python packages, which will also install the dependencies required for your project into your new virtual_environment. To deactivate your activated virtual environment, just run the following on the command line:
> deactivateIf you also want to install a version of Python into your virtual environment, you’ll need to use pyenv or pipenv. For example:
> pip install pipenv
> pipenv install python <version>
However, you should be aware that:
- You need to have Python 3 (not Python 2, which is officially unsupported by python.org) already installed before you can create a virtual installation of Python
- Different versions of Python and different operating systems require different tools to create and work with virtual environments, from pyenv to pywin to virtualenv to venv, and more
- There is no central console (although virtualenvwrapper definitely helps), so tracking and managing multiple virtual environments gets harder the more environments you create
- Virtual environments are terminal-specific, activated, and deactivated on a per-terminal basis
Native Virtual Environment Support
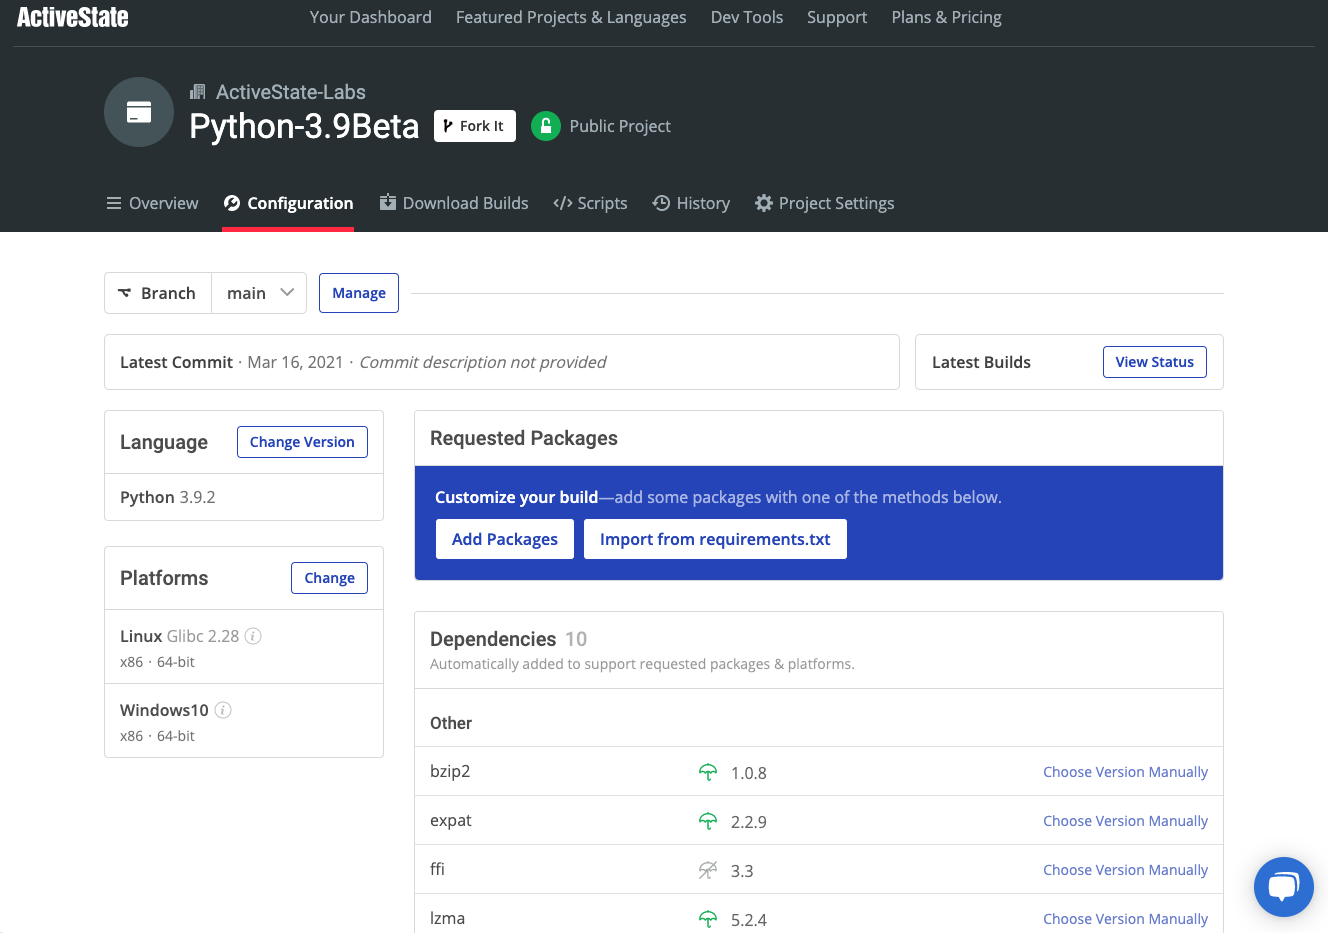
The ActiveState Platform is a package management solution for Python, Perl and Tcl that automatically creates a virtual environment on all main operating systems, including Windows, Linux or macOS whenever you install a new Python project. The ActiveState Platform provides a command line interface, the State Tool, which automatically:- Creates a project folder for your virtual environment
- Builds Python from source code, downloads and installs it in the virtual environment
- Builds all packages/dependencies from source code, downloads and installs them into the virtual environment
- Download and install Python and the Python interpreter
- Download and install key dependencies like setup.py and setuptools
powershell -Command "& $([scriptblock]::Create((New-Object Net.WebClient).DownloadString('https://platform.activestate.com/dl/cli/install.ps1'))) -activate-default ActiveState-Labs/Python-3.9Beta"
For Linux run the following command:
sh <(curl -q https://platform.activestate.com/dl/cli/install.sh) --activate-default ActiveState-Labs/Python-3.9Beta
You can then install any Python packages your project requires by running:
state install <packagename>
Or
state install requirements.txt
For more information on how to use the State Tool, refer to the User Guide.
Frequently Asked Questions
How do I install Virtualenv?
You can install virtualenv is a third party package from the Python Package Index (PyPI) by running the following commands from a CMD prompt on a Windows machine:
> pip install virtualenv
Virtualenv is used to create virtual environments for each of your projects, ensuring that dependencies are isolated and won’t cause conflicts. This means you need to have Python installed by you can install a Python virtual environment. The ActiveState Platform automatically installs Python into a virtual environment, avoiding the bootstrapping issue. For more information, read about ActiveState’s Python 3.9
What is the difference between pip and Virtualenv?
Pip is Python’s package manager, and is used to install, update, remove and otherwise manage Python packages on your local machine.
Virtualenv is a third party package used to create virtual environments on your local machine for each of your projects. Virtualenv makes it possible to work with more than one Python project at a time by creating a separate virtual environment for each. You can then use pip to manage the packages for each project.
The ActiveState Platform’s command line interface, the State Tool, combines both the package management capabilities of pip and the virtual environment management capabilities of virtualenv (as well as virtualenvwrapper), giving you a single tool to work with instead of multiple tools.
You can download the State Tool for Windows, Linux and macOS, and read the documentation to see how easy it is to use
Can I install Virtualenv without installing pip?
Virutalenv is a third party package used to create virtual environments on your local machine.
If you don’t have pip (or even Python) installed on your machine, the easiest way to create a virtual environment is to download and install Python 3.9 from ActiveState, which will automatically be installed in a virtual environment.
For Windows, run the following command at a CMD prompt:
powershell -Command "& $([scriptblock]::Create((New-Object Net.WebClient).DownloadString('https://platform.activestate.com/dl/cli/install.ps1'))) -activate-default ActiveState-Labs/Python-3.9Beta"
For Linux run the following command:
sh <(curl -q https://platform.activestate.com/dl/cli/install.sh) --activate-default ActiveState-Labs/Python-3.9Beta
You can then install any Python packages your project requires by running:
state install <packagename>
Or
state install requirements.txt
For more information on how to use the State Tool, refer to the User Guide.
How do I install pip and Virtualenv on Windows?
To install virtualenv on Windows, you first need to install pip. But to install pip on Windows, you first need to install Python. This is a bootstrapping problem that makes creating a virtual environment MUCH harder than it needs to be.
Instead, consider using the ActiveState Platform, which automatically installs Python into a virtual environment, avoiding the bootstrapping issue. For more information, read about ActiveState’s Python 3.9