Update August 29, 2017: Full source code now available on GitHub – https://github.com/ActiveState/neuroblast.
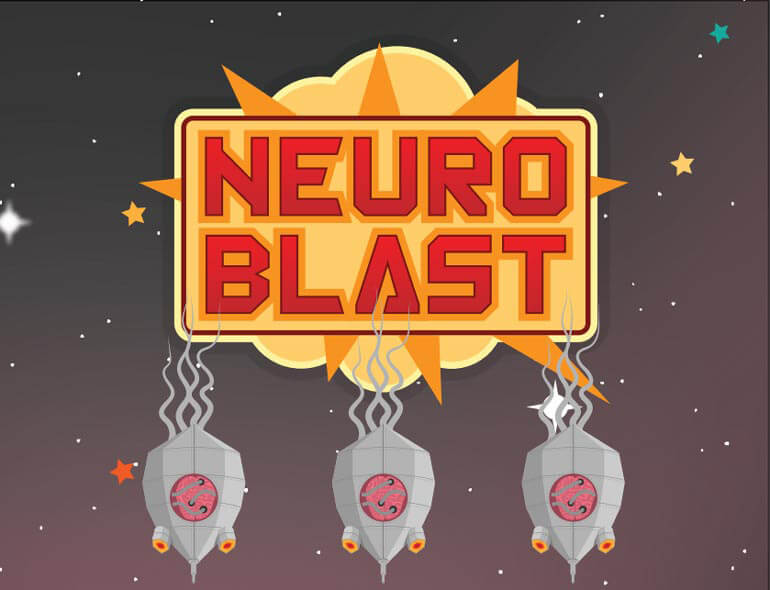
Heading into PyCon, we wanted to put together something to demonstrate some of the excellent Python packages that are available in the machine learning space as well as showing off some of the newly integrated Intel® Math Kernel Library (MKL) optimizations in the latest ActivePython release. That demo became “NeuroBlast”, a classic arcade space shooter game that features enemies powered by machine learning. It was a fun way to get folks engaged at our booth and to learn about what’s available in the incredible Python ecosystem. It also gave me an opportunity to build something non-trivial using machine learning techniques, and my background in games made an interactive demo a good fit.

NeuroBlast is a vertically scrolling space shooter where you control a ship that tries to defeat increasing waves of enemies. Normally, these enemies fly in predefined formations, with predefined firing patterns, and come in waves. The big difference in NeuroBlast is that the enemies use machine learning to determine what their firing pattern should be.
Under The Hood: TensorFlow, Keras, And Intel MKL
To demonstrate what you can do with the tools available, we decided to build a Neural Network to drive the behaviour of the enemies in the game, and we built it using the popular Keras library using the TensorFlow backend. Plus, by using ActivePython to develop our game, we could leverage the Intel MKL optimizations compiled into the latest release so anything that uses certain core math functionality, eg. NumPy, would get a big speed-up out of the box.
For the game part of things, we’re using PyGame and generally speaking I was pretty performance conscious with the implementation to ensure that we could run the game at a solid framerate and still have a lot of CPU overhead available to do realtime neural net evaluations and visualization (eg. the game doesn’t feature pixel perfect collision).
Training the Neural Net
Our Neural Net is ultimately a very simple one — four inputs and a single output neuron. It will use supervised learning to do binary classification on a simple problem: was each shot a hit or a miss? It utilizes the delta between player and enemy position, and player and enemy velocity as the inputs. The single output neuron will fire if its activation value is >= 0.5 and will not fire if it is < 0.5.
When building the network, I initially had only a single hidden layer with 4 nodes but found that after training it, it was somewhat erratic. It seemed like it was very sensitive to the training data and would not ‘settle’ on a particular strategy in any consistent way. I experimented with a few different configurations, and ultimately settled on the one we used for the demo. It’s quite likely not the optimal setup, and may have more layers than is necessary. What appealed to me though was that even with a very small amount of training data, and regardless of how you trained it, it would consistently settle into a similar behaviour pattern which made it great for a floor demo where anyone could play or train the game.

The visualization was cobbled together by myself to run inside PyGame natively. Inspired by this blog post, the visualization here shows connections between nodes as either red or green lines. Green lines indicate positive weights that will bias the network towards “shooting”, and red values inhibit shooting. Thicker lines indicate higher weight values and thus “stronger” connections. I had to implement it natively in PyGame because a traditional plotting library like matplotlib was just too slow.
After training, the network consistently seems to converge on the following strategy:
- If the player is within a reasonable cone of forward “vision” then fire indiscriminately.
- If the player is not within that reasonable forward cone, then do not fire at all.
At first, it was very interesting to me that the network did not settle on the more obvious “just fire constantly” strategy, but given that it does receive training data that indicates that “misses” are undesirable, it makes sense that it would avoid firing shots with a low probability of hitting.


In the training mode, the enemies fire randomly, and then each shot taken by the enemy is recorded as a hit or a miss along with its initial relative position/velocity values. Every one of these shots becomes a row in the training matrix and the network is trained in “realtime” after every row is added so you can see the network build and develop as you train.
It’s worth noting that in early iterations of the game, I was passing in raw pixel values for positions and velocities. This meant that there was a really wide variation between the values in the input and I found that the network would just not really converge to a consistent behaviour. So, I normalized the input data to be roughly between 0.0-1.0 and found that it basically instantly converged to a usable behaviour. So, lesson for you kids: normalize your input data!
Once the network is trained, when you play the game, every instance of an enemy spaceship uses its own instance of the neural network to make decisions about when it should fire.
Using Keras
Keras makes the setup and evaluation of neural nets extremely simple and the ability to choose between Theano or Tensorflow for the backend makes it very flexible. Let’s take a quick look at the Keras code to set up the network we used:
       self.keras = Sequential()
       self.keras.add(Dense(4, input shape=(4,), activation='relu'))
       self.keras.add(Dense(6, activation='relu'))
       self.keras.add(Dense(4, activation='relu'))
       self.keras.add(Dense(4, activation='relu'))
       self.keras.add(Dense(1, activation='sigmoid'))
       self.keras.compile(loss='binary_crossentropy', optimizer='adam', metrics=['accuracy'])
Tip: I used Keras 2.0.4, but in an earlier versions of Keras, you will have to substitute the loss function to be “mean squared error”, and optimizer to “sgd” since the earlier version does not seem to support the binary_crossentropy/adam combination.
What’s great about Keras is that with only a very few lines of code, we can define our entire network without really needing to know much about how TensorFlow works, or even have to configure our own complex data structures to manage our own neural net.
Once we’ve finished training (in the game you can stop training at any point), we can train our model with a single line of code:
self.keras.fit(x,y,epochs=150,batch size=10)That will put our input data X which is an n * 4 matrix of position/velocity data, as well as our Y data which is an n * 1 vector of 1s and 0s through 150 epochs of training. (Note: If you’re using an earlier version of Keras, epochs is nb_epoch).
During gameplay, the enemies each evaluate this NN every frame to determine whether they should be shooting at the player, again with only a single line of code:
self.brain.keras.predict(np.array([list((dx,dy,du,dv))]))>=0.5What you can see here is that if the final neuron outputs >= 0.5, then the enemy will fire. You can also see we’re passing through the current relative position (dx,dy) and velocity (du,dv) as the input data for the brain to predict.
Lessons Learned
Generally speaking there were a few key lessons that I learned while putting together this demo:
- Choosing the right data to train your network is important. There was a tonne of available data to choose from, but selecting the right set of physically accurate data was important to build a usable network. Thanks to our VP of Engineering Tom Radcliffe, who is an ML expert, he provided excellent guidance on the right kind of training data to use.
- “Prepping” your data is key. Normalize your input data! It isn’t strictly necessary, but it also isn’t likely to cause problems, and is cheap and easy to do. You should also get comfortable with NumPy and the proper way to format matrices so that Keras knows how to interpret the data you throw at it.
- Experiment with network topology. At first I was hesitant to mess with the layout of the network, and it felt strange to use trial and error to come up with a solution, but the more I learn about this space, the more I realize that this is an important part of the process.
- Visualization is important. Before I had the visualization implemented, I found it very difficult to debug and reason about what was happening with my NN. Even though there were many options available for visualization, the home-grown visualization that I cobbled together made sense to me and helped me immensely with identifying the behaviour of the network.
It’s remarkable how consistent the behaviour of this simple network is, and even though there are a number of obvious improvements and additions that could be made to this, it nevertheless demonstrates the power of machine learning…and that it is now super accessible to anyone.
Moving forward I’ll look to make a few tweaks and improvements to this network. Ultimately I would like to push this to GitHub as I had a number of requests at PyCon to do so and would love to see others learn from this project.
If you want to ask questions about this project, feel free to hit me up on Twitter @rawktron.
Try out the new machine learning packages pre-bundled in ActivePython. Download ActivePythonCommunity Edition and get started in development for free.