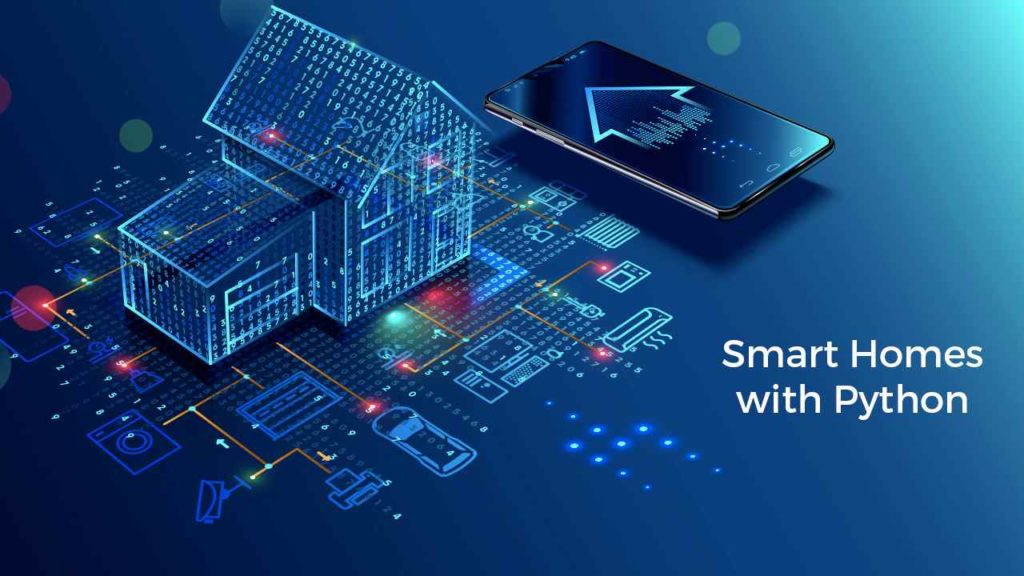
Python has been making home automation possible for many years now. With Python’s HomeAssitant, the power comes right in your hands. This blog demonstrates you can have fun with Python’s HomeAssistant and automate your home while practicing your Python skills. Install the “Home Assistant” build, which contains a version of Python 3.7 and HomeAssistant so you can test it out for yourself.
When I bought my first WiFi-powered desk lamp, the convenience of using software switches over mechanical switches was a revelation! I quickly WiFi enabled my water filter, air purifier, speakers – almost anything I could get my hands on.
Apple’s Homekit provided a handy way to create a central hub that could manage all my devices in one place. And with iCloud, I could share access with my family, as well. However, as I’ve often found with Apple products, I had no control or flexibility over designating which devices were shared devices, and which were my own. Then I found HomeAssistant.
HomeAssistant is a Python-based home-automation server that puts local control and privacy first. It can be installed on Raspberry Pi’s, or your local system in order to connect via WiFi to various Internet of Things (IoT) devices and cloud services.
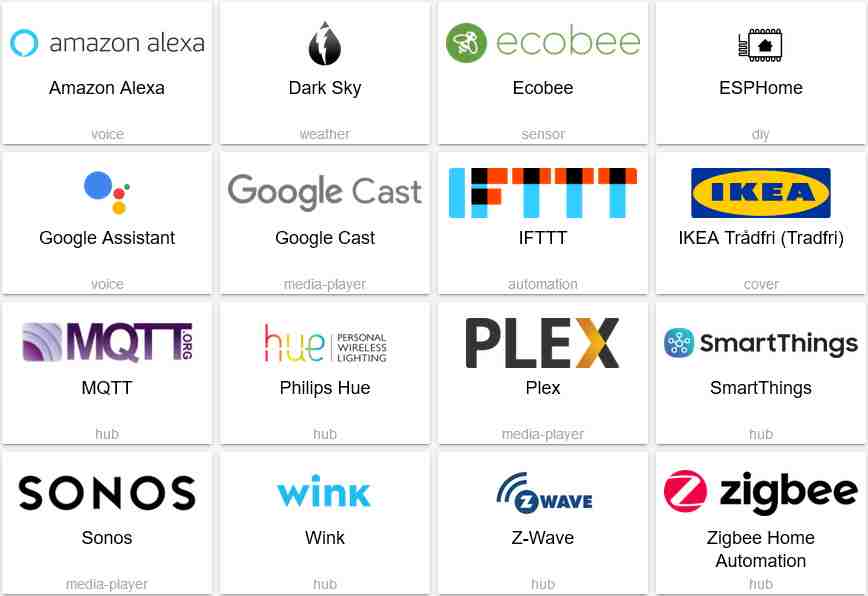
You can also use it to create powerful ways to automate your devices, services, and even create scenarios (such as “raise the blinds at sunrise, turn off external lights, and start the coffee maker”).
In this blog post I’ll show you how to install HomeAssistant on your local system (mine is a Mac), and then control a Xiaomi Smart Bedside Lamp 2 via the Apple HomeKit controller. You will be able to implement the same steps on all other HomeKit Enabled smart devices in your house. Let’s get started!
Installing HomeAssistant
Installation is a very straightforward process that requires Python 3.7 or later installed, along with the HomeAssistant Python package.
The simplest way to get started is to get the pre-built “Home Assistant” runtime environment from the ActiveState Platform by doing the following:
- Create a free ActiveState Platform account
- Install the “Home Assistant” build, which contains a version of Python 3.7 and HomeAssistant so you can test it out for yourself.
NOTE: the simplest way to install the Home Assistant environment is to first install the ActiveState Platform’s command line interface (CLI), the State Tool.
- If you’re on Windows, you can use Powershell to install the State Tool:
IEX(New-Object Net.WebClient).downloadString('https://platform.www.activestate.com/dl/cli/install.ps1')
- If you’re on Linux / Mac, you can use curl to install the State Tool:
sh <(curl -q https://platform.www.activestate.com/dl/cli/install.sh)
Once the State Tool is installed, just run the following command to download the build and automatically install it into a virtual environment:
state activate Pizza-Team/Home-Assistant
To test that everything installed properly, use your Web browser to navigate to http://localhost:8123 where you should see HomeAssistant’s homepage.
Setting Up HomeAssistant
When the HomeAssistant server first runs, it will ask you to create an account.
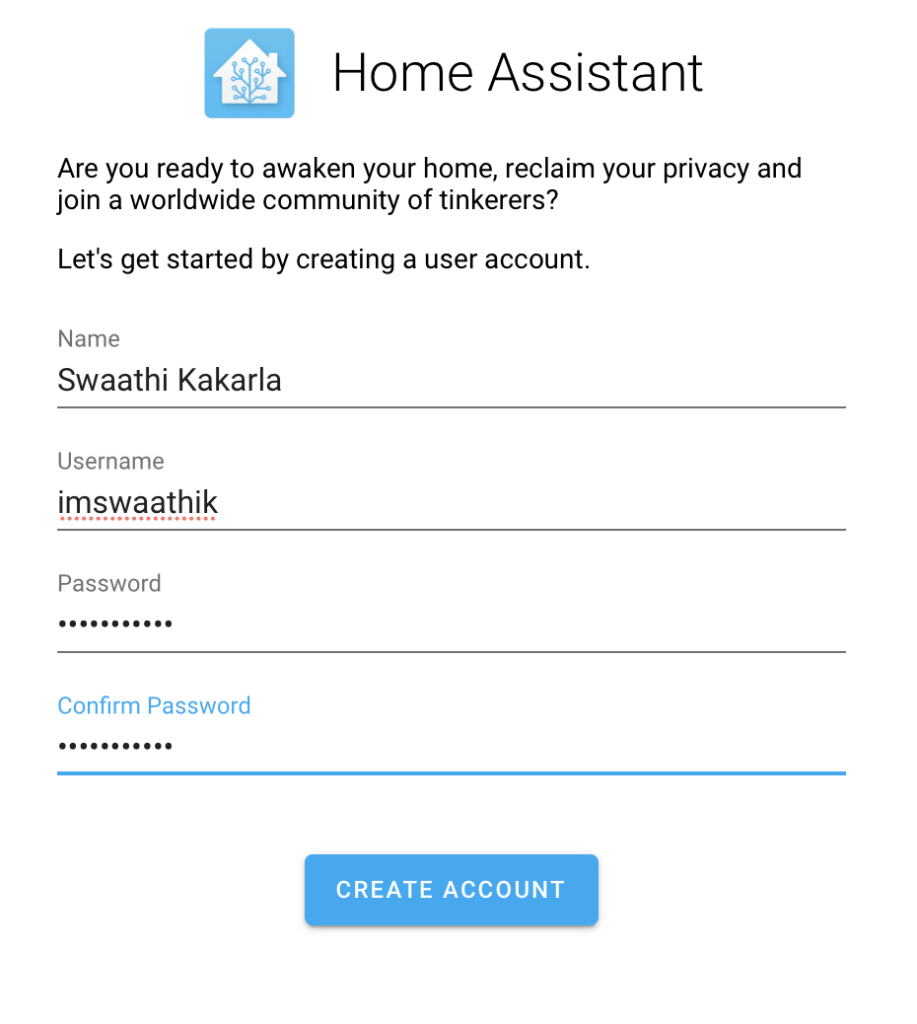
Okay that was easy! Now let’s now connect the Smart Lamp. Since the lamp is HomeKit enabled, it comes with prebuilt actions like turn on, turn off and toggle, which make it easy to write automation scripts. We also have access to triggers like “When device is turned on” or “When device is turned off”.
HomeAssistant can be integrated with HomeKit-enabled devices in one of two ways:
- HomeKit Controller: allows you to connect accessories the feature the “Works with HomeKit” logo
- HomeKit Bridge: allows you to control HomeAssistant-compatible devices via HomeKit
Basically, HomeKit allows for standardization of all the different IoT devices that manufacturers build, and then HomeAssistant lets you make use of those devices. For our use case, HomeKit Controller sounds perfect. Let’s get to it!
Connecting HomeAssistant to your Devices
Choose the “HomeKit Controller” option from the integrations dropdown menu.
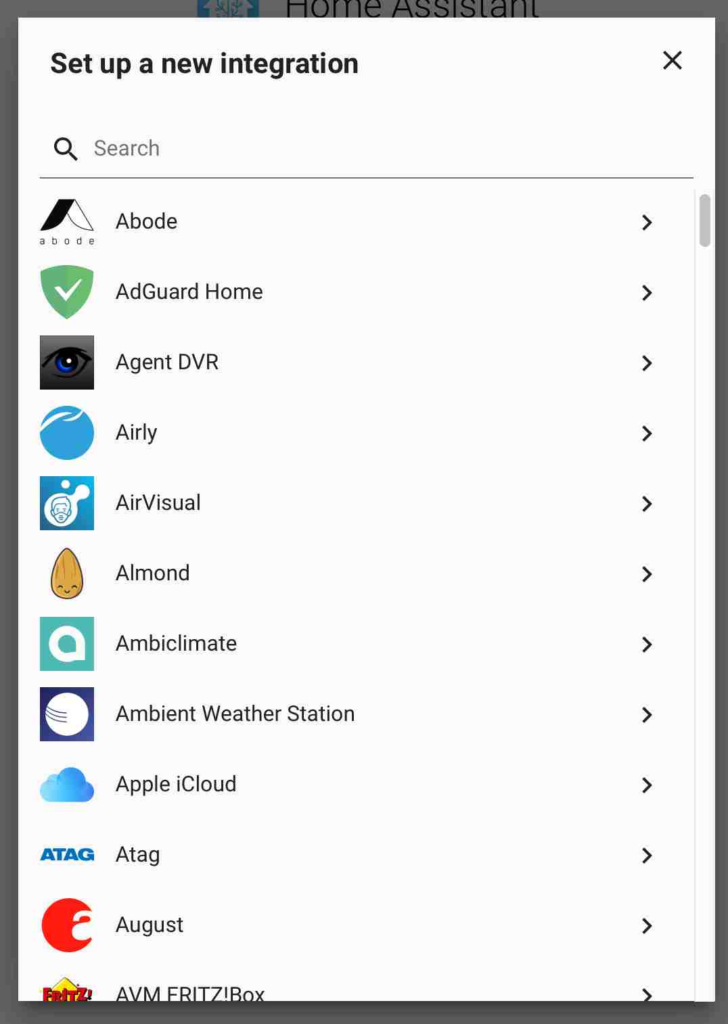
Make sure your smart lamp is on the same network as the system you’re running HomeAssistant on. Otherwise, HomeAssistant will not be able to detect the IoT device.
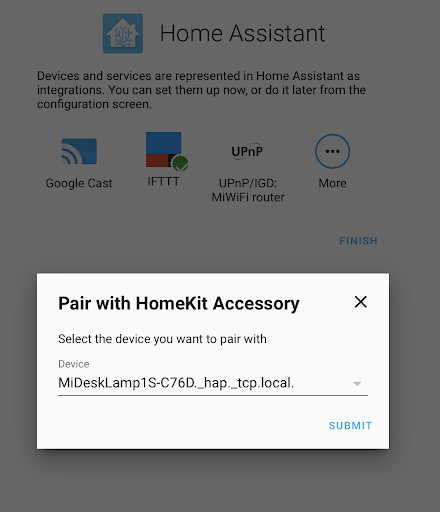
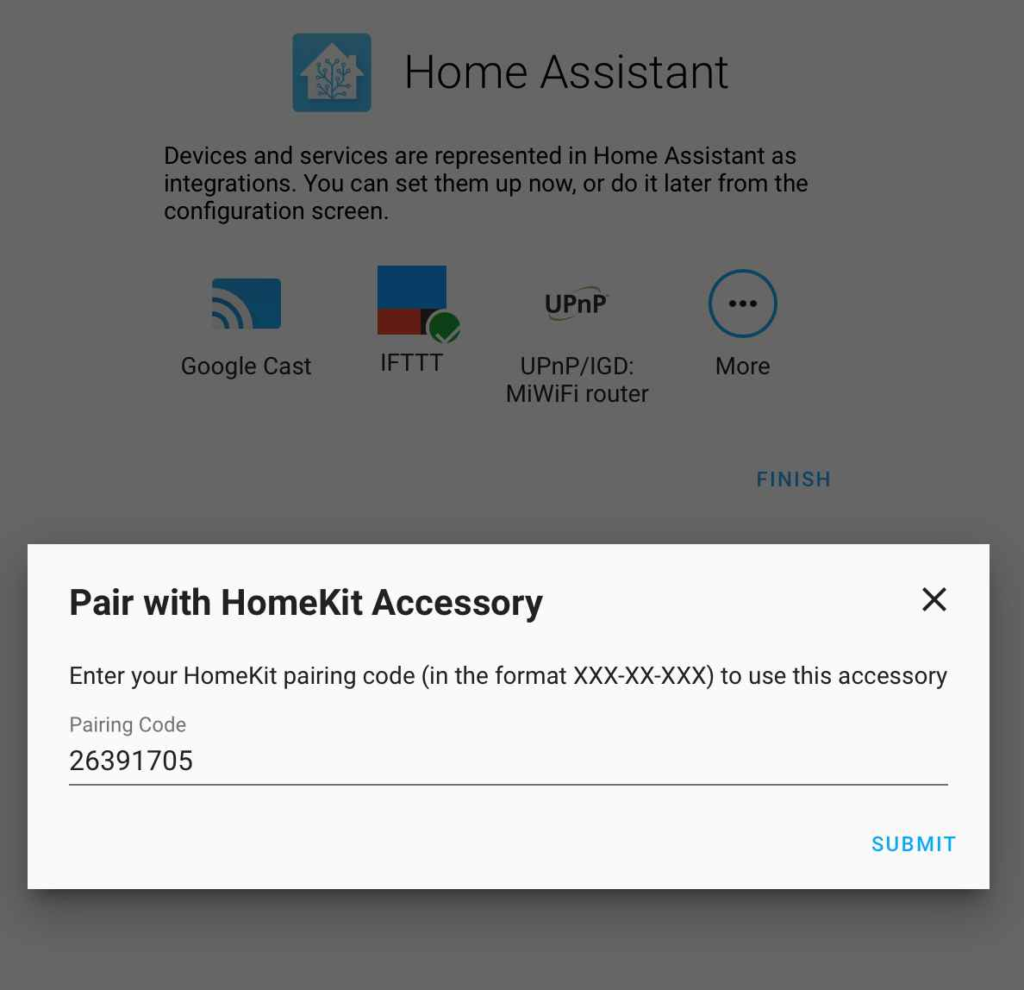
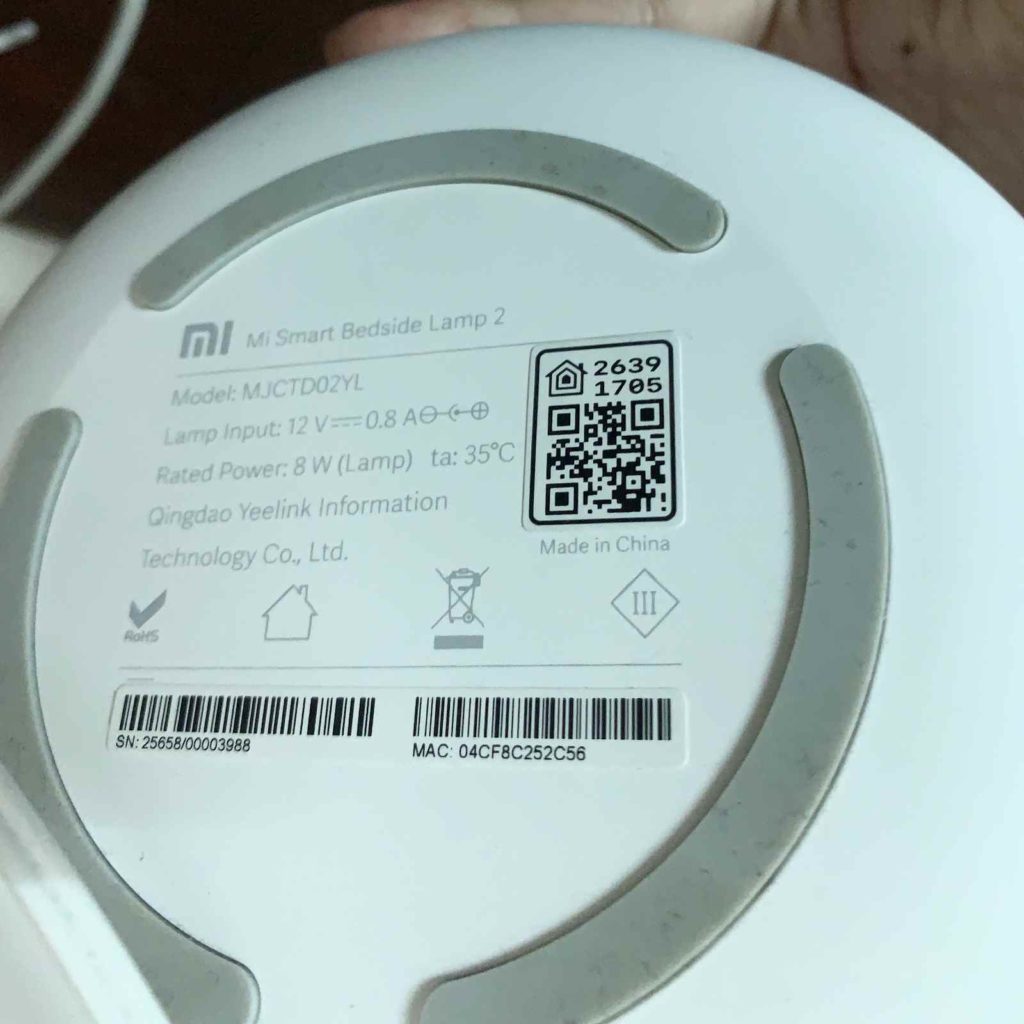
Enter the HomeKit pairing code, which can usually be found on the bottom of the device.
And that’s it!
Automating Your Home with Python
You can set up “automations” for your IoT devices using Python scripts. Each automation consists of a trigger, a condition and an action. HomeAssistant provides a good set of out-of-the-box triggers, which are the starting point of an automation. Some examples include:
- SUN TRIGGER: activates when the sun sets or rises in your configured geolocation.
- TIME TRIGGER: activates at a pre-set time.
- HOMEASSISTANT TRIGGER: activates when the HomeAssistant starts or stops. This is useful for setting the default state of all your IoT devices.
- WEBHOOK TRIGGER: activates when you make a POST request to the configured webhook path.
When the trigger is activated, the automation executes.
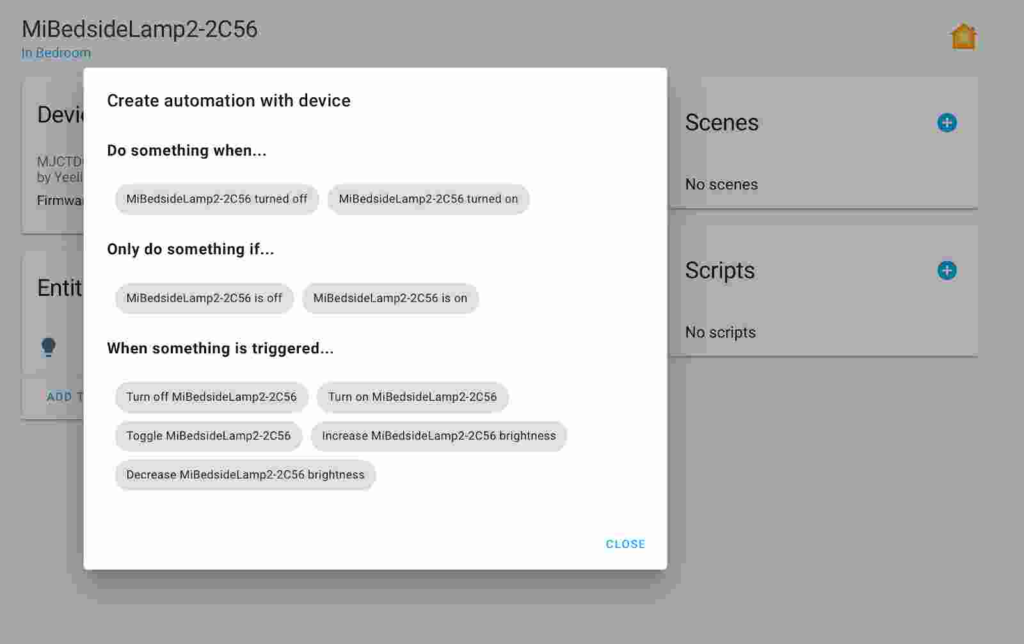
In this case, let’s use the webhook trigger to turn on the light.
- Click on the “Configuration” button on the sidebar, and then click on the “Automations” option to the right.
- Choose the “Webhook Trigger” and configure it.

The webhook ID defines the path of your webhook. In this case, our path will be “/api/webhook/turn-on-light”. Making a POST request to this path will trigger whatever action we define in the next step.
3. On the Actions screen, choose the “Device” option and the “turn on” action.
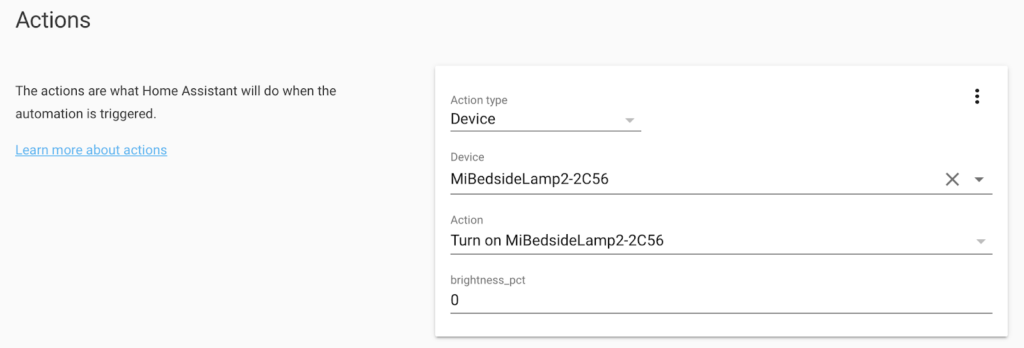
For lamps you can also configure the brightness, but I’m going to leave it at its default level.
4. Click on Save, and that’s it! The HomeAssistant abstracts away all the Python programming and creates the script for you.
Time to test it out by making a POST request to the webhook. I’m using a cURL command here, but feel free to use any API tool:
curl -d "" http://127.0.0.1:8123/api/webhook/turn-on-light
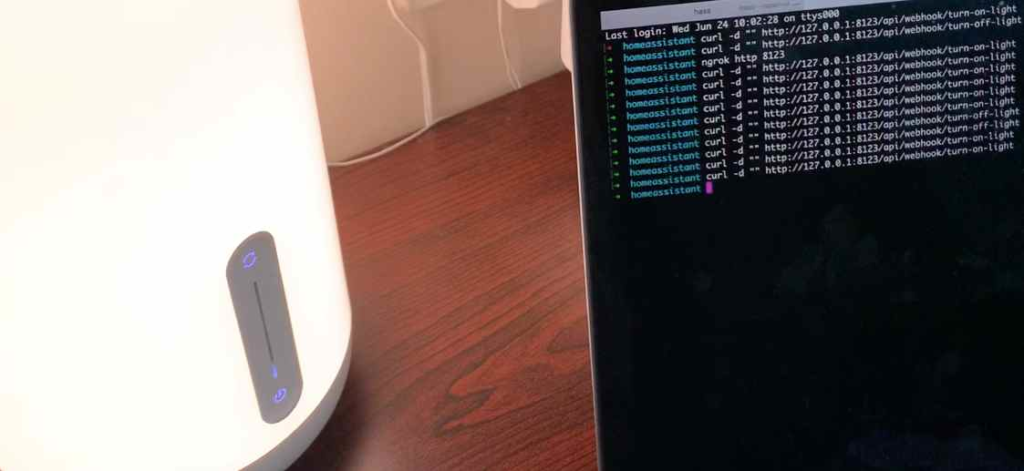
ProTip: Rather than creating two automations (one to turn on and one to turn off the lamp), you can just create one based on the toggle trigger.
Conclusions
HomeAssistant is a versatile tool that allows you to control almost all aspects of home automation. It provides deep integration to various IoT devices and home automation platforms. The web interface makes it simple to create quick and easy automations, but for more complex automation tasks it also provides a YAML file where you can write multiple commands. Try automating your home for your next weekend DIY project!
Use ActivePython and accelerate your Python projects.
- The #1 Python solution used by innovative enterprise teams
- Comes pre-bundled with top Python packages
- Spend less time resolving dependencies and more time on quality coding


