- Simple Object Access Protocol (SOAP) APIs, which are reliant on XML and thus very heavy weight.
- Representational State Transfer (REST) APIs, which are far more lightweight than SOAP with simple queries that tend to require multiple calls to obtain the information required.
- Graph Query Language (GraphQL) APIs, which offer the best of both worlds: a single query that can retrieve all required information without being as heavyweight as SOAP.
While SOAP is rarely used for modern APIs, enterprises continue to weigh REST against GraphQL. For some, reading and writing data from a set of REST-based endpoints still makes sense despite the fact that, for example, if you’re working with details about a book and its author, you’d typically make at least two API calls to endpoints like /books/<isbn> and /author/<id>.
Facebook developed GraphQL during their quest to find a better and more flexible way to work across their data. They found that they could achieve this flexibility with a query-based approach. By defining a schema that the queries can run against, an API based on GraphQL enables clients to make fewer requests while still being able to work with as much (or as little) of the data that’s exposed through the query as desired. So, a single query could include all of the details about a book and all of the details about the author in a single call, regardless of how the data is stored in the backend database.
When it comes to building a GraphQL API, there are multiple frameworks to choose from across multiple technologies. It should come as no surprise that GraphQL is also fully supported by Python. In this tutorial, we will use a Python package called Graphene to walk you through the process of setting up a GraphQL server in Python.
What is Graphene in Python?
Graphene is one of the top GraphQL frameworks for Python. It uses a code-first approach, whereas others (like Strawberry) use a schema-first approach. You can find a good blog post that explains what the terms “schema-first” and “code-first” mean on LogRocket’s website. Like many people, the author prefers the code-first approach (TLDR: code-first is simpler/faster to implement while schema-first is more structured and process-oriented).
In addition to being popular and widely supported, Graphene has a very strong set of pre-built integrations with other leading Python web server frameworks, like Django and SQLAlchemy, to help you interact with the SQL database of your choice. In this case, we’ll use Flask. The steps we’ll follow include:
- Install a Python virtual environment with all the packages we’ll need
- Set up a Flask web server to host our API
- Create the GraphQL schema
- Test the GraphQL API with a request
All of the code used in this tutorial is available in my GitHub repo. Let’s get started.
Step 1 — Install The GraphQL APIs Python Environment
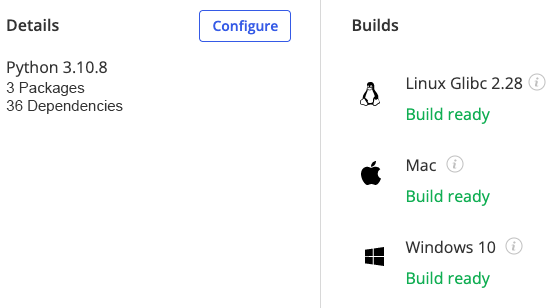
To follow along with the code in this article, you can download and install our pre-built GraphQL APIs environment, which contains:
- A version of Python 3.10.
- All the dependencies used in this post in a prebuilt environment for Windows, Mac and Linux.
In order to download this ready-to-use Python project, you will need to create a free ActiveState Platform account. Just use your GitHub credentials or your email address to register. Signing up is easy and it unlocks the ActiveState Platform’s many other dependency management benefits.
Or you can also use our State tool CLI to install the GraphQL APIs runtime environment and project code:
Windows users can install the GraphQL APIs runtime into a virtual environment by downloading and double-clicking on the installer. You can then activate the project by running the following command at a Command Prompt (cmd.exe):
state activate --default Pizza-Team/GraphQL-APIs
For Linux and Mac users, run the following to automatically download, install and activate the GraphQL APIs runtime in a virtual environment:
sh <(curl -q https://platform.www.activestate.com/dl/cli/_pdli01/install.sh) -c'state activate --default Pizza-Team/GraphQL-APIs'
Step 2 — Set Up Flask Web Server
Next, we will create a very basic server using Flask, which expects the default file name to be app.py. The following code will import Flask, define an application, then add a basic rule to answer requests:
# Importing Flask to be our HTTP server
from flask import Flask
# Importing this view so Flask can delegate to Graphene
app=Flask(__name__)
# Adding a single route for /
@app.route("/")
def young_ben():
return "Hello There"
Now we’ll run it (this also shows a successful request):
(ve) [root@r code]# flask run
 * Environment: production
   WARNING: This is a development server. Do not use it in a production deployment.
   Use a production WSGI server instead.
 * Debug mode: off
 * Running on http://127.0.0.1:5000 (Press CTRL+C to quit)
127.0.0.1 - - [09/Jul/2022 04:59:43] "GET / HTTP/1.1" 200 -
Finally, we’ll access it:
[root@r ~]# curl http://localhost:5000
Hello There
We now have a working web server.
Step 3 — Building a Graphene Schema
The GraphQL-server package handles the Graphene integration with Flask, so let’s update the Flask server to import Flask-GraphQL (at the top of app.py), and add a new route to support the request (at the bottom of app.py).
We’ll use add_to_rule instead of route, since it allows the function to exist in a separate file (the default name that it wants is schema.py). In addition, we can use a couple of flags to ensure that Flask knows that the URL is going to be handled by GraphQLView and Graphene.
# Importing GraphQLView
from graphql_server.flask import GraphQLView
from schema import schema
#### Skip to bottom ####
# Adding another route for GraphQL at /graphql
app.add_url_rule(
	'/graphql',
view_func=GraphQLView.as_view(
	     'graphql',
     schema=schema,
     graphiql=True
)
)
Next, we need to write the code that defines the schema to which GraphQL will respond. In this case, we’ll use a single query that looks for a field value named who with a string called name within it. If no string is defined, it will use a default value; if a string is defined, on the other hand, it will return that value to the client.
# Importing Graphene so we can define a simple GraphQL schema
import graphene
class Query(graphene.ObjectType):
# defining a field "who" in the schema with the argument "name"`
who = graphene.String(name=graphene.String(default_value="Leia"))
# This returns the GraphQL context (root, info) and adds the argument
def resolve_who(root, info, name):
     return f'Hi {name}!'
schema = graphene.Schema(query=Query)
Step 4 — Testing the GraphQL API
The schema we’ve defined is fairly simple. When rendered, it looks like this:
type Query {
	    who(name: String = "Insert a name here"): String
}
Now that we have integrated Graphene with a schema (and we know what the schema looks like), it is time to validate that it works. So, let’s start the server and run a query against it to return the defined data. The first step is to run the Flask server:
(ve) [root@r code]# flask run
 * Environment: production
   WARNING: This is a development server. Do not use it in a production deployment.
   Use a production WSGI server instead.
 * Debug mode: off
 * Running on http://127.0.0.1:5000 (Press CTRL+C to quit)
127.0.0.1 - - [09/Jul/2022 06:20:32] "POST /graphql HTTP/1.1" 200 -
127.0.0.1 - - [09/Jul/2022 06:20:39] "POST /graphql HTTP/1.1" 200 -
Finally, we can validate that the new query works with both the default value and a custom value. According to the GraphQL specification, requests are wrapped in a JSON object named query or mutation, and responses always come back in an object called data.
[root@r code]# curl -X POST \
    -H 'Content-Type: application/json' \
    -d '{
	          "query":
            "query { who }"
        }' \
    http://127.0.0.1:5000/graphql
{"data":{"who":"Hi Leia!"}}
[root@r code]# curl -X POST \
    -H 'Content-Type: application/json' \
    -d '{
	          "query":
            "query { who(name:\"Luke\") }"
        }' \
    http://127.0.0.1:5000/graphql
{"data":{"who":"Hi Luke!"}}
As you can see, it successfully returned both the default value and the custom value in the queries.
Conclusions — GraphQL and Python
GraphQL has been embraced by technology leaders from Netflix to Shopify to PayPal as the modern way to do APIs, offering far more flexibility and speed than REST or SOAP, and making it ideal for both web and mobile applications. Simple GraphQL APIs are quick and easy to build in just about any language, but as this exercise has shown, Python and Graphene can give you a real headstart on developing GraphQL-based APIs.
Graphene provides a wide range of support for third party technologies, including:
- Web servers – Django, Flask, etc
- Databases – SQL like SQLAlchemy, NoSQL like MongoDB and other data sources like custom Python objects. With a persistence layer in place, you can build mutations in addition to your queries. Mutations let you create and update data through GraphQL.
- GraphQL clients – Relay, Apollo and gql
But Graphene is opinionated, favoring a code-first approach to building GraphQL APIs. Python programmers that prefer a schema-first approach may want to check out Ariadne.
Next steps:
Sign up for a free ActiveState Platform account and download the GraphQL APIs environment, which contains a copy of Python 3.10 and all the packages/dependencies you need to get started creating your own GraphQL APIs.
Read Similar Stories

GraphQL is the de facto standard for providing an external API. Learn how to use the GQL 3 GraphQL Client for Python.
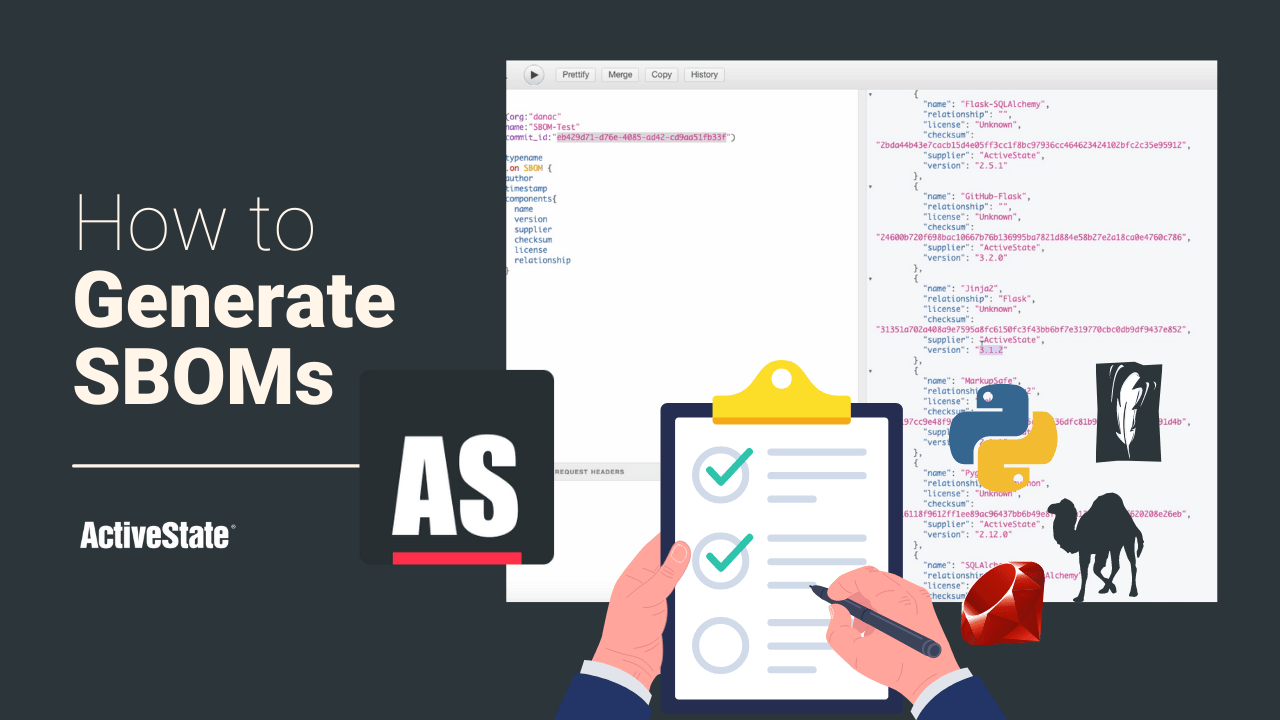
See how the ActiveState Platform can be used to generate SBOMs for all the open source language components in your software project.
With our Build Graph, we’re adding the ability for developers to not only expand our Platform, but also use any new capabilities added by others.


