- Setting up a development environment with all the correct dependencies
- Ensuring all the libraries/versions are consistent across the development team
- Building it all from source code to ensure security
And it all gets that much more difficult if any of the gems also require linked C libraries that will need to be compiled for all your team’s systems and target deployment platform(s).
Traditionally, the process might look like:
- Each team member builds their own development environment leading inevitably to “works on my machine” issues when someone ends up using a different version of a library.
- Someone(s) on the team builds the development environment for each OS (or just once in a container), using prebuilt gems.
- This method improves consistency at the expense of security since RubyGems (like most public repositories) offers no guarantees as to the security and integrity of the prebuilt gems it provides.
- Someone(s) on the team creates a build environment for each OS, builds each gem from source code, and then packages the environment for deployment either as OS-specific installers or in a container.
- This method ensures consistency and security, but can delay the start of the project by days or weeks depending on complexity of the builds.
The ActiveState Platform can make this process dramatically simpler, quicker and easier without sacrificing security. Let’s see how it might work using a complex gem like Nokogiri as an example.
Consistent, Secure Ruby Development Environments for Any OS
Nokogiri is terrific for letting you work quickly with XML and HTML documents because it relies on native parsers like libxml2 (CRuby), libxslt and others. But those native libraries are going to complicate things when it comes to building the development environment from scratch for our two target operating systems: Windows and Linux.
To create a central, standard development environment for Nokogiri, we’ll use the following steps:
- Create a Ruby project on the ActiveState Platform, which will automatically create the runtime environment for each OS specified.
- Add the gems we’ll need in our development environment (including the rake compiler so we can build the project and C libs once we’ve finished adding our customizations), and then let the ActiveState Platform automatically build the runtime environment.
- Link the Nokogiri GitHub project to the ActiveState project in order to ensure the source code is deployed together with the runtime environment.
Let’s see how it works in practice.
Step 1 – Automatically Create a Ruby Runtime Environment
Once logged into the ActiveState Platform, you can simply click on the New Project button in the top right of the dashboard and select:
- Ruby 3.12
- The Windows and Linux operating systems
- Optionally provide a name for the project like “Nokogiri-dev”
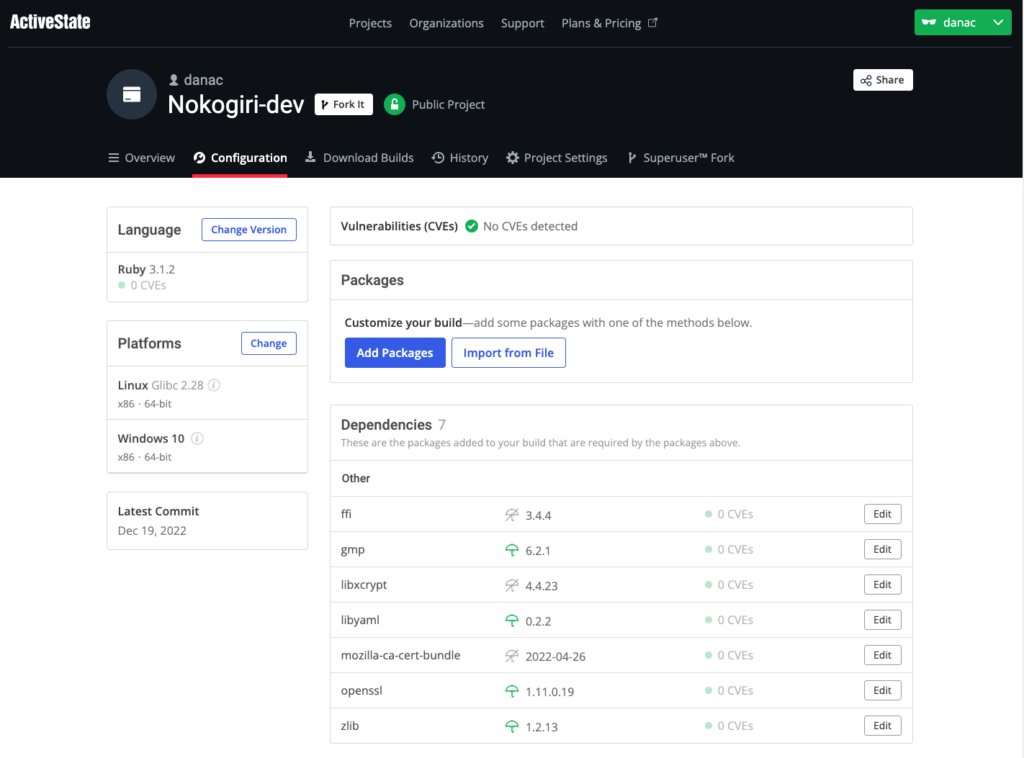
You should end up with something like this:
Note that libxcrypt and Mozilla’s cert bundle have been added for Linux support, and will not be added to the Windows version where they are not required.
Step 2 – Add Gems to the Ruby Runtime
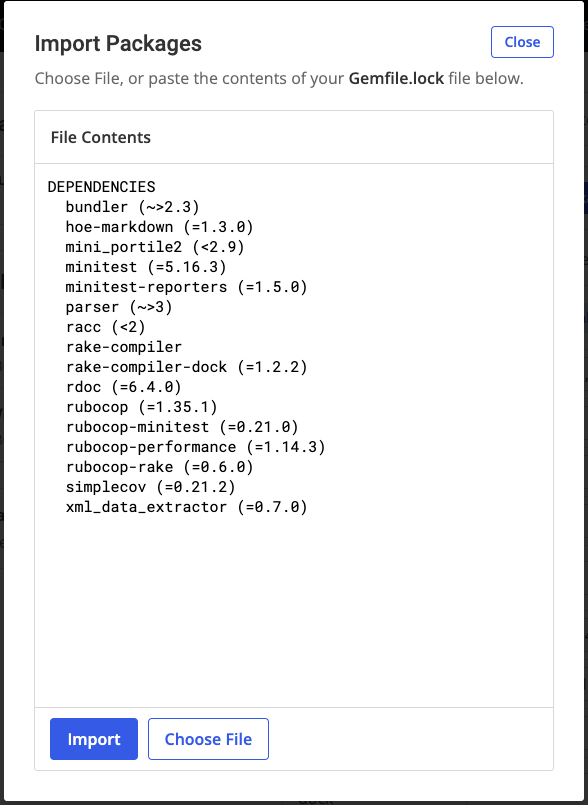
Now we can either import a standard set of development gems from a gemfile by clicking on the “Import from File” button, or else add them one by one from the ActiveState Platform’s catalog. For example, a standard gemfile might look like the following:
All of these gems will be added from the ActiveState Platform’s catalog. ActiveState regularly imports the source code for new gems/new versions of gems from public repositories like RubyGems, GitHub and other repos.
The ActiveState Platform will now take a few seconds to:
- Resolve all the gems to ensure compatibility with each other and the specified platforms.
- Pull in each gems’ transitive dependencies, including the OS-native libraries.
- Determine the best/most compatible version for each gem/dependency whose version is not strictly specified. If any conflicts arise, they are flagged and a manual workaround is provided ensuring you can avoid dependency hell.
- Determine whether any of the gems/dependencies have a vulnerability, which the ActiveState Platform will indicate initially and then track over time, alerting you when a new vulnerability is found.
Since no vulnerabilities were found, we can click on the “Save Changes & Start Build” button. This will kickoff the build of all the gems from source code (including all C libraries), and then package the resulting runtime environment for deployment on Windows and Linux.
Step 3 – Deploy the Ruby Runtime & GitHub Repository
Rather than just downloading the installer or running the CLI command to install the runtime environment at this point, we can go one step further and let the ActiveState Platform install the Nokogiri source code at the same time. Here’s how:
- Click on the “Project Settings” tab
- In the “Git Repo URL” text box, enter the URL to the GitHub Nokogiri repository: https://github.com/sparklemotion/nokogiri
ActiveState has effectively combined the power of a virtual environment management system with a package manager that understands the entire development and runtime needs for application development. For example, with the following single command a Linux developer can install a Ruby core, an approved runtime environment and the Nokogiri source code into a virtual environment on their local system:
sh <(curl -q https://platform.www.activestate.com/dl/cli/112376075.1671561888_pdli01/install.sh) -c'state activate --default danac/Nokogiri-dev'
The command does the following:
- Clones the GitHub Nokogiri repo for the user (even if they don’t have git installed!).
- Installs all the necessary development dependencies and tools for the current commit in GitHub (Note: ActiveState tracks dependencies over time when integrated with GitHub, so at any commit you always have exactly what you need to develop with the code at that branch point!).
- Configures the shell so the tools and libraries are available in the virtual environment.
In other words, in just a few minutes, developers can have everything they need to start coding and working with Nokogiri locally in a consistent, secure environment.
Conclusions – Streamline Cross-Platform Ruby Environment Setup
The ActiveState approach dramatically streamlines the thorny problem of developer onboarding, while eliminating scripting and documenting environment setup. But there are additional benefits to using the ActiveState Platform, not the least of which is that Continuous Integration (CI) setup and testing are significantly easier, as well.
For example, on a Linux system, CI scripts can be simplified to the following two commands:
sh <(curl -q https://platform.www.activestate.com/dl/cli/install.sh)
state run sparkemotion/nokogiri test
These commands do all the bootstrapping described above in Step 3 above by starting with the installation of the State Tool (ActiveState’s CLI), and then using it to create the CI environment before executing the test script. (Note: in Step 3 above, the State Tool would have been installed as the first step after downloading the runtime environment).
Entry points like “test” can be defined in the activestate.yaml file, which is automatically created and added to your virtual environment on install. This is a very handy way to ensure a consistent testing environment during local development (regardless of the operating system), as well as during CI whether or not you use containers.
Next steps:
The goal of the ActiveState Platform is to ensure organizations deploy consistent, secure runtime environments quickly and easily. Try it for yourself by creating a free ActiveState Platform account.
Read Similar Stories
Securing your Ruby software supply chain from end to end means implementing import, build and usage controls. Learn how.
ActiveState Ruby is now available for download from the ActiveState Platform. Download a recent version of Ruby for Windows or Linux.
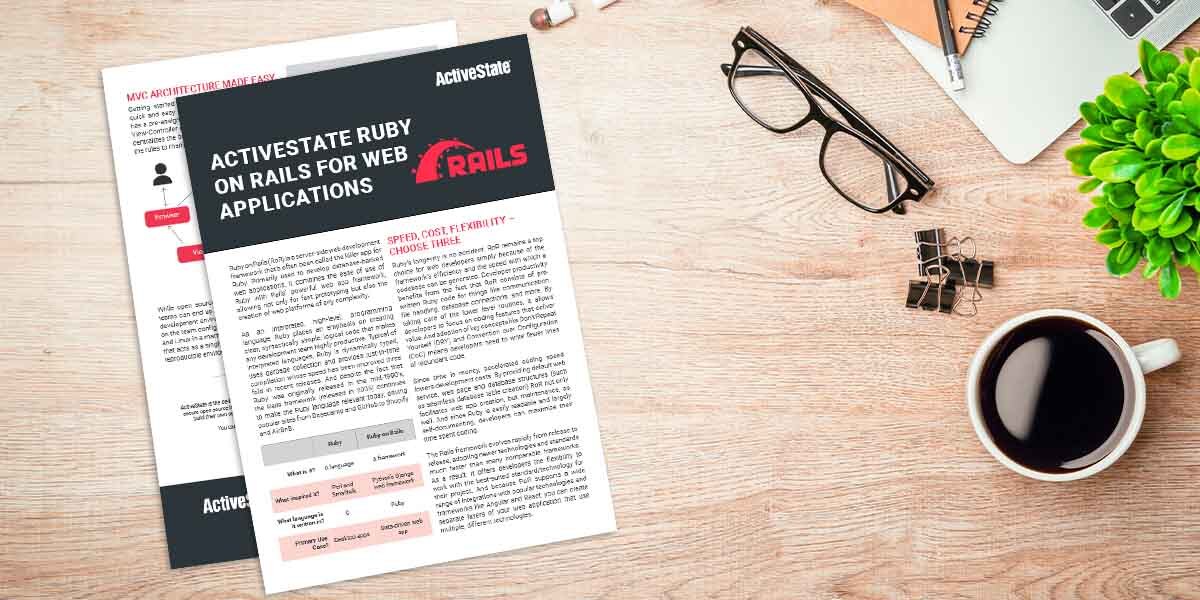
ActiveState Ruby is available via our ActiveState Platform, which contains its own catalog of over 100,000 of the most popular RubyGems.


