Requests is a popular open source HTTP library that simplifies working with HTTP requests.
The Requests library is available for both Python 2 and Python 3 from the Python Package Index (PyPI), and has the following features:
- Allows you to send HTTP/1.1 PUT, DELETE, HEAD, GET and OPTIONS requests with ease. For example:
import requests
req = requests.request('GET', 'https://httpbin.org/get')
Req
# Output:
<Response [200]>
- You can use it to send form-encoded data, similar to an HTML form.
- Provides a demystified, readable API for humans. For example, this is how you make an HTTP POST request:
r = requests.post('https://httpbin.org/post', data = {'key':'value'})”Prior to the availability of the Requests library, it was necessary to manually add query strings to URLs, and form-encode PUT & POST data. Now you can use Requests with the JSON method instead.
Requests Installation
Check if Requests is already installed and up-to-date by entering the following command:
python -m pip show requests
Output should be similar to:
Name: requests
Version: 2.26.0
Summary: Python HTTP for Humans.
Home-page: https://requests.readthedocs.io
...
If not installed, you can install Requests on Linux, MacOS, and the Windows operating systems by running:
pip install requests
or
python -m pip install requests
To upgrade requests to the latest version, enter:
pip install --upgrade requests
To install a specific version of requests, eg. version 2.6.6, enter:
pip install requests==2.6.0
To uninstall Requests, enter:
pip uninstall Requests
Alternate Methods for installing Requests
Install Requests from Source Code
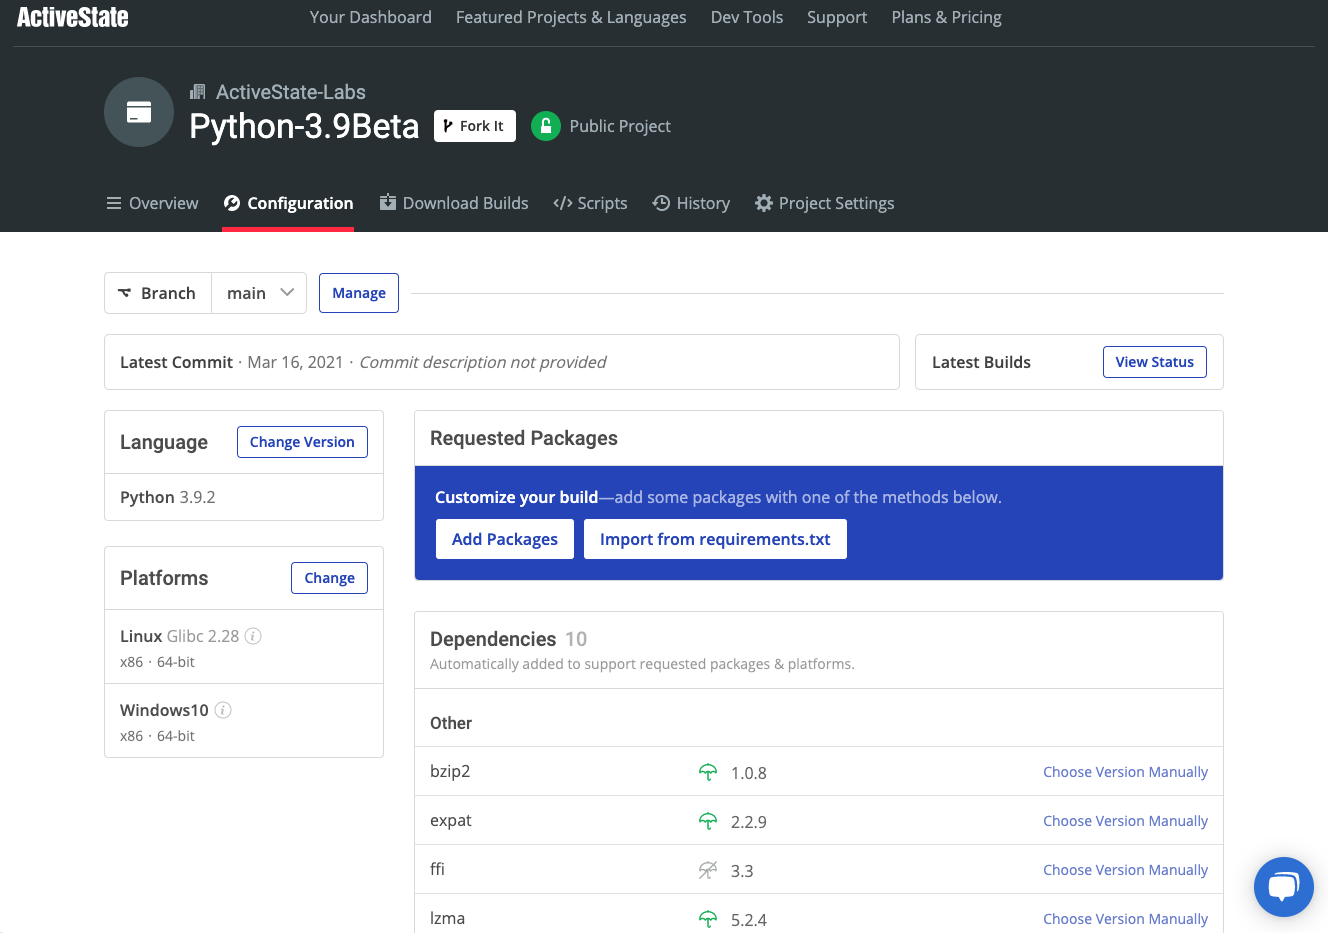
The easiest way to install Requests from source code is to use the ActiveState Platform, which will automatically build and package it for you. Run the following command to create a new project in a virtual environment/ virtual directory:
For Linux, run the following in your terminal:
sh <(curl -q https://platform.www.activestate.com/dl/cli/w20615l01/install.sh) --activate-default ActiveState-Labs/Python-3.9Beta
For Windows, run the following in a CMD window:
powershell -Command "& $([scriptblock]::Create((New-Object Net.WebClient).DownloadString('https://platform.www.activestate.com/dl/cli/w20615w01/install.ps1'))) -activate-default ActiveState-Labs/Python-3.9Beta"Then run:
state install requests
Install Requests on Ubuntu and Debian Linux
Run the following command:
apt-get install python-requests
Install Requests on Fedora, Redhat and CentOS Linux
Run the following command:
yum install python-requests
Install Requests with Git
If you have Git installed, you can use it in conjunction with pip to install Requests by running the following command:
pip install github.com/kennethreitz/requests.git
Pip install Requests into a Virtual Directory
You should always work in a virtual environment to prevent conflicts. You can use pip to install a specific version of the Requests module into a Virtualenv environment for Python 2 or Venv for Python 3 projects.
Syntax:
Assuming that you are working in Python 3, you can set up a virtual directory for a project with the following command:
python3 -m venv <path_to_env>
venv will create a virtual Python installation in the <env_name> folder.
Activate <env_name> with the following command:
Linux:
source <env_name>/bin/activate
Windows:
.\env\Scripts\activate
You can pip install Requests into your virtual environment with the following command:
python -m pip install requests
Pip Install Requests as a Dependency
Pip will allow you to declare a specific Requests version as a dependency in a requirements.txt file, along with other dependencies in a virtual environment. For example:
requests==<version#>
<package_name>==<version#>
To install Requests as a dependency along with other dependencies in a requirements.txt file:
python3 -m pip install -r requirements.txt
A modern solution to Python package and dependency management – Try ActiveState’s Platform
Dependency resolution is at the core of the ActiveState Platform. When you create a project and start adding requirements, the Platforms tell you what dependencies those requirements have.
The ActiveState Platform is a cloud-based build tool for Python. It provides build automation and vulnerability remediation for:
- Python language cores, including Python 2.7 and Python 3.5+
- Python packages and their dependencies, including:
- Transitive dependencies (ie., dependencies of dependencies)
- Linked C and Fortran libraries, so you can build data science packages
- Operating system-level dependencies for Windows, Linux, and macOS
- Shared dependencies (ie., OpenSSL)
- Find, fix and automatically rebuild a secure version of Python packages like Django and environments in minutes

Python Dependency Management In Action
Get a hands-on appreciation for how the ActiveState Platform can help you manage your dependencies for Python environments. Just run the following command to install Python 3.9 and our package manager, the State Tool:
Windows
powershell -Command "& $([scriptblock]::Create((New-Object Net.WebClient).DownloadString('https://platform.www.activestate.com/dl/cli/install.ps1'))) -activate-default ActiveState-Labs/Python-3.9Beta"Linux
sh <(curl -q https://platform.www.activestate.com/dl/cli/install.sh) --activate-default ActiveState-Labs/Python-3.9Beta
Now you can run state install <packagename>. Learn more about how to use the State Tool to manage your Python environment.
Let us know your experience in the ActiveState Community forum.
Watch this video to learn how to use the ActiveState Platform to create a Python 3.9 environment, and then use the Platform’s CLI (State Tool) to install and manage it.


