Today is another Monday, and another Monday means another Macro Monday blog post. Except I didn’t prepare a macro because I was too busy getting my Komodo builds to work for the umptieth time. So instead I’m going to talk about just that; getting a Komodo build going and how I’ve “accidentally” been able to make it a lot easier, apologies if you were looking forward to another macro; I promise there’ll be one next week!
The Story
So last Friday I decided I had had enough of Ubuntu, I was tired of waiting for the apt repositories to give me the software I was waiting for and having to mess about with various different apt repositories just to install some software. After a failed attempt a while ago I was now determined to install Arch Linux and fully make the switch, but since I did not want to waste days getting it set up I chose to install Antergos, which is basically Arch but with a fancy installer.
Everything went great, Arch/Antergos was running smoothly and all of my apps and settings were transferred in no time, the only thing left was getting my Komodo build going, oh boy was I in for a chore.
I’ll save you the details but what it came down to is Arch uses Python 3 by default and when using Python 2 I ran into a bunch of unicode linking issues. I spent well over 2 days modifying build scripts to get the Komodo build going and got there 99% of the way. In my frustration I vented on IRC about how I wish I could just run GUI apps in Docker when Mark Yen (one of the Komodo devs) simply said “you can – just use SSH with X11 forwarding”.
I knew about X11 forwarding but always figured this to be a fairly limited functionality only capable of bare basic X11 windows, not complex
applications like Komodo. But I was wrong and I instantly dropped the past 2 days worth of headaches and started looking into Docker. Barely a day later I had a fully functional Komodo build running via Docker, it was beautiful!
So after some polishing of the implementation the Docker image is now ready for anyone to use, this will allow you to get your own Linux build of Komodo running in no time without having to worry about installing dependencies.
Using Docker to Build Komodo
To get started building Komodo with Docker head over to our github page and check the instructions.
Just want the TLDR? Basically to get a build running in Komodo you will execute these commands in your terminal (must have docker installed and running):
cd /util/docker
sudo ./docklet build # takes a few minutes
sudo ./docklet start
sudo ./docklet ssh # you will now be sshed into the docker container
cd /root/komodo/mozilla
python build.py configure -k 9.10
python build.py distclean all # this will take a while, between 15 mins and xx hours depending on your hardware
cd ..
bk configure -V 9.10.0-devel
bk build # takes a few minutes
bk run
For further details check out our build instructions.
Once you have your build running you will only be using the last 2 commands most of the time, and they won’t take nearly as long.
Developing Using Docker
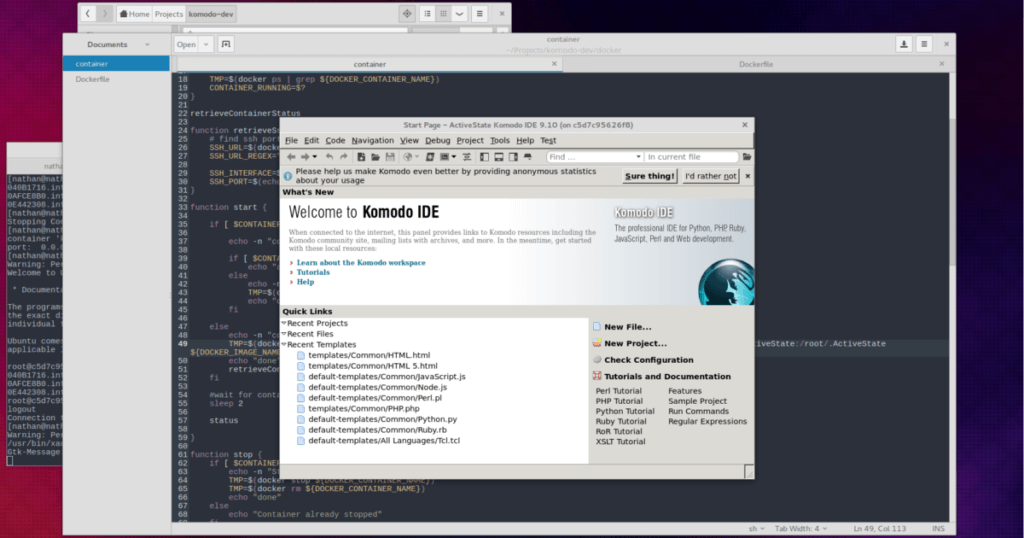
Once you have your Docker build going you might be wondering – “now what? Where do I edit my files?”. Thankfully Docker makes it easy to simply mount a host folder on the Docker container, which is already facilitated for you when you use the docklet script referenced above. So once you have your build going you can simply edit your files in the project root on your host machine in whatever manner you prefer (I hear Komodo IDE is pretty good at this ;)).
Here Be Dragons
Keep in mind the Docker script is still brand-new and there will still be some kinks to work out before it can be considered as a “stable” alternative to running the build straight from your host machine.
Final Thoughts
I want to credit [pelle.io] for providing me with the resources I needed to figure much of the docker stuff out, his blog and script were of tremendous help to me.
I hope to evolve upon the existing Docker script a lot in the future, but it will depend on how many people end up using it. Particularly I’d like to make the build process even simpler by already supplying the built mozilla dependencies, which would eliminate half of the steps above.
So if you find this useful and intend to use it – please let us know!
Here’s hoping this leads to some interesting contributions! 🙂