We’ve been seeing more of our users getting into mobile app development, so we added PhoneGap and Cordova integration in the Komodo X release. Although I’m not a mobile app developer, given the new functionality in Komodo I thought it would be fun to write my *first* Android App.
In case you’re not familiar with PhoneGap and Cordova, I’ll give you a quick primer. Essentially, these technologies let you write mobile applications using web technologies. PhoneGap and Cordova use the same underlying technology, but PhoneGap is targeted at the enterprise (and has additional features for this user group) and Cordova is Open Source and targeted at anyone else. In fact from our research we’ve found that many enterprises choose to use Cordova instead of PhoneGap.
Given the overwhelming popularity Cordova has garnered I used that one when creating my app.
## Getting Started
All that said, I thought I’d give you a little rundown of what it would take for you to start your first Cordova Android project in Komodo. Note that there are a lot of moving parts to getting everything set up and running at first, this guide should cover most of them, but it is possible that you will need to do a bit of research and interpretation of your own, so be prepared for that.
The step-by-step instructions are split up into two parts: the first is installing the dependencies and the second is creating and running your app.
## Part 1: Install Dependencies
To work with Cordova and Android we’ll need a few dependencies installed, namely:
* Komodo IDE X
* Node.js and NPM
* Cordova
* Java (Android needs it)
* Android SDK
* Intel HAXM (optional, but recommended)
This may seem a little overwhelming at first, but rest assured you’ll only have to do this once. We’ll install each dependency as part of this guide.
### Step 1: Install Komodo
First things first, you’ll need to have Komodo IDE X installed and running (Komodo Edit does not have the integration we need). So if you don’t already have Komodo installed, head over to the “Try” section up above and [download](http://komodoide.com/downloads/) and install Komodo IDE.
### Step 2: Install Node.JS and NPM
For the next step you’ll need to have Node.js and NPM installed, which Cordova depends on. Unfortunately, we don’t facilitate this process through Komodo (yet), so please [follow the official installation guide](https://docs.npmjs.com/getting-started/installing-node).
Once this is done you’ll be able to use NPM from within Komodo, which is our next step. We’re going to install Cordova using using Komodo. Komodo will take care of talking to NPM.
### Step 3: Install Cordova
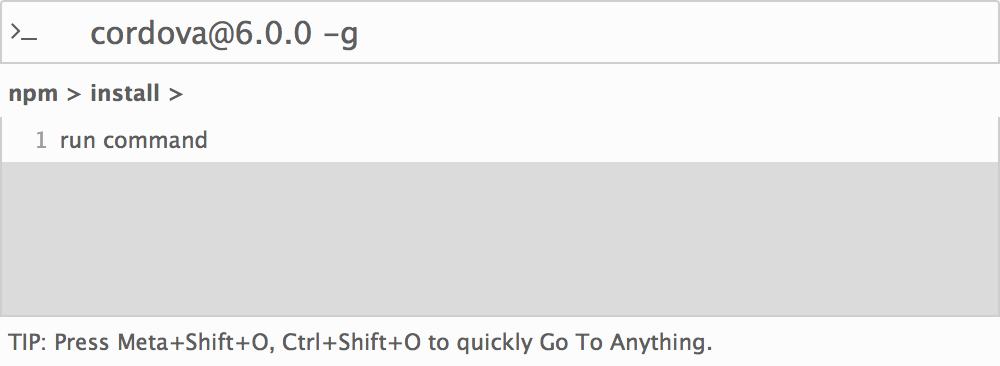
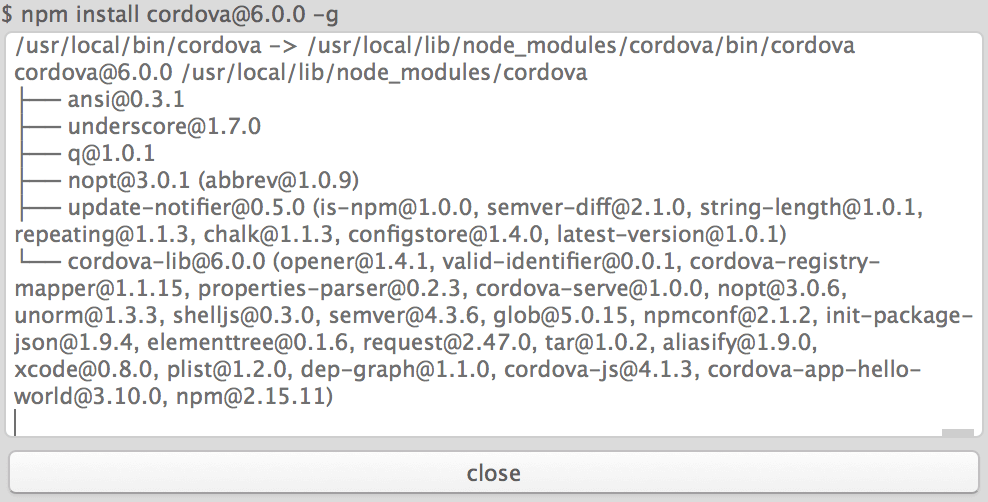
Open up Commando (AKA Komodo’s Go To Anything panel) by pressing **Ctrl+Shift+O**, or **Cmd+Shift+O** if you are on OSX. Then navigate to **Shell** > **NPM** > **Install**. Enter “**cordova@6.0.0**” and hit *enter*.
> **Why Cordova 6.0 and not the latest?**
> Unfortunately Cordova changed the way it reports platform information as of version 6.1. You can use the latest version but Komodo would not be able to provide you platform completions and the rest of this guide would be rendered useless.
> This issue will be resolved in the next Komodo update.

### Step 4: Install Android Tools
This gets a bit in-depth as there are a lot of platform specific variables to consider, so I’ll simply link to the cordova guide on this topic which does an excellent job at explaining the installation steps.
Follow the steps on the [cordova documentation](https://cordova.apache.org/docs/en/latest/guide/platforms/android/index.html#requirements-and-support) to install the Android Tools. Stop once you reach the “Project Configuration” section.
### Step 5: Install Android SDK
Now that the Android Tools are installed we’ll need to use them to install the SDK as well as an emulator. Use your command prompt to navigate to the folder the Android Tools are installed to and run
~~~
./bin/android sdk
~~~
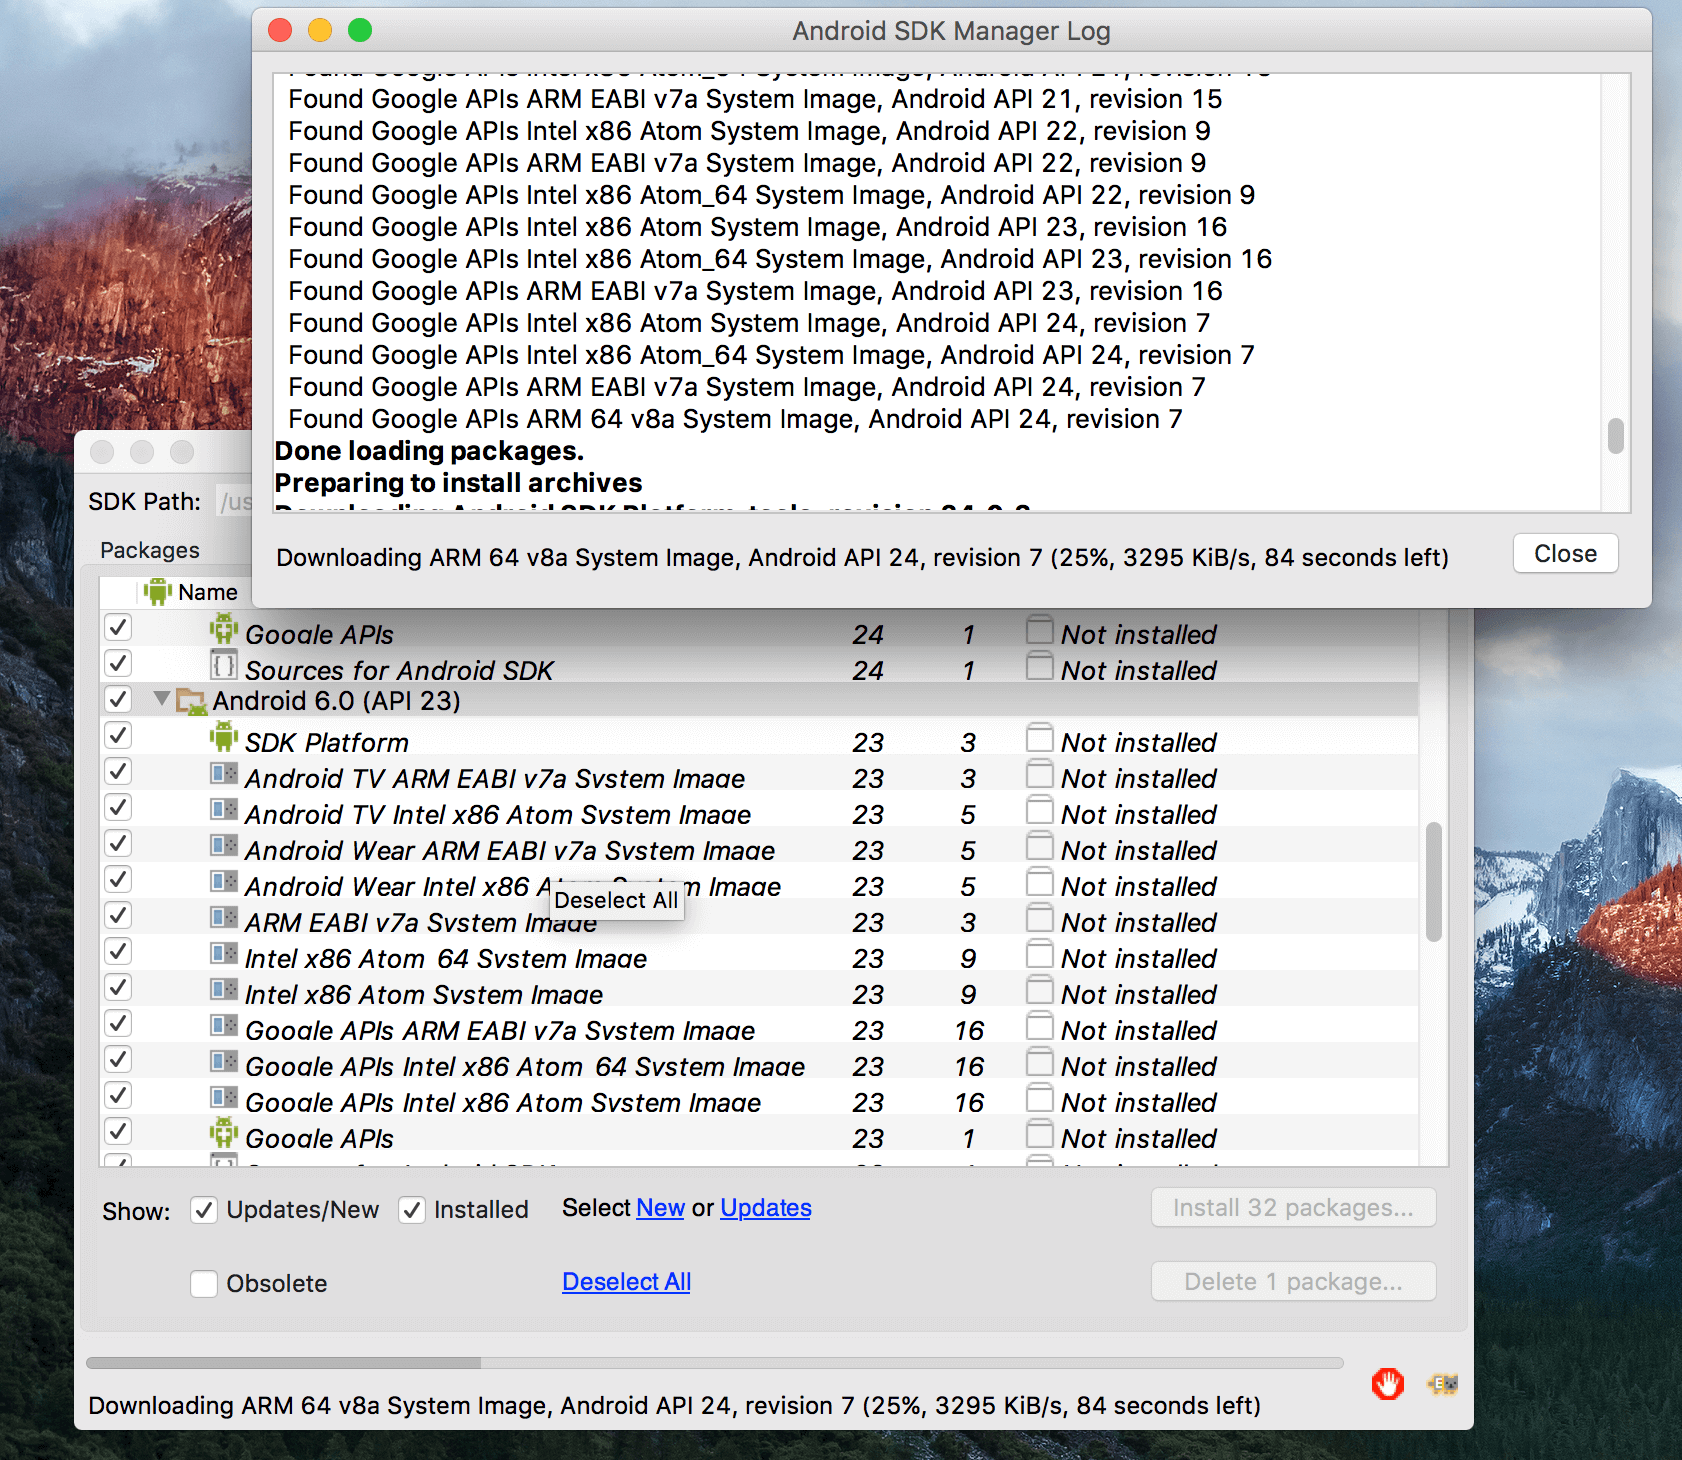
A GUI will show that lets you choose what components to install. You’ll want to check the following items:
* Everything under the *Android 6.0* tree
* excluding any items that contain “*Android Wear*” or “*Android TV*” in the title (unless that’s your jam!).
* **Tools** > **Android SDK Build-tools** (version 23)
* If you intend to use *Intel HAXM* (if you have a fairly modern Intel processor, you should!):
* Navigate down to “**Extras**” and check “**Intel X86 Emulator Accelerator (HAXM installer)**”.
Once checked hit the “*Install xx packages..*” button at the bottom right and follow the installation process.
### Step 6: Create Android Emulator
Use your command prompt to navigate to the folder the Android Tools are installed to and run
~~~
./bin/android avd
~~~
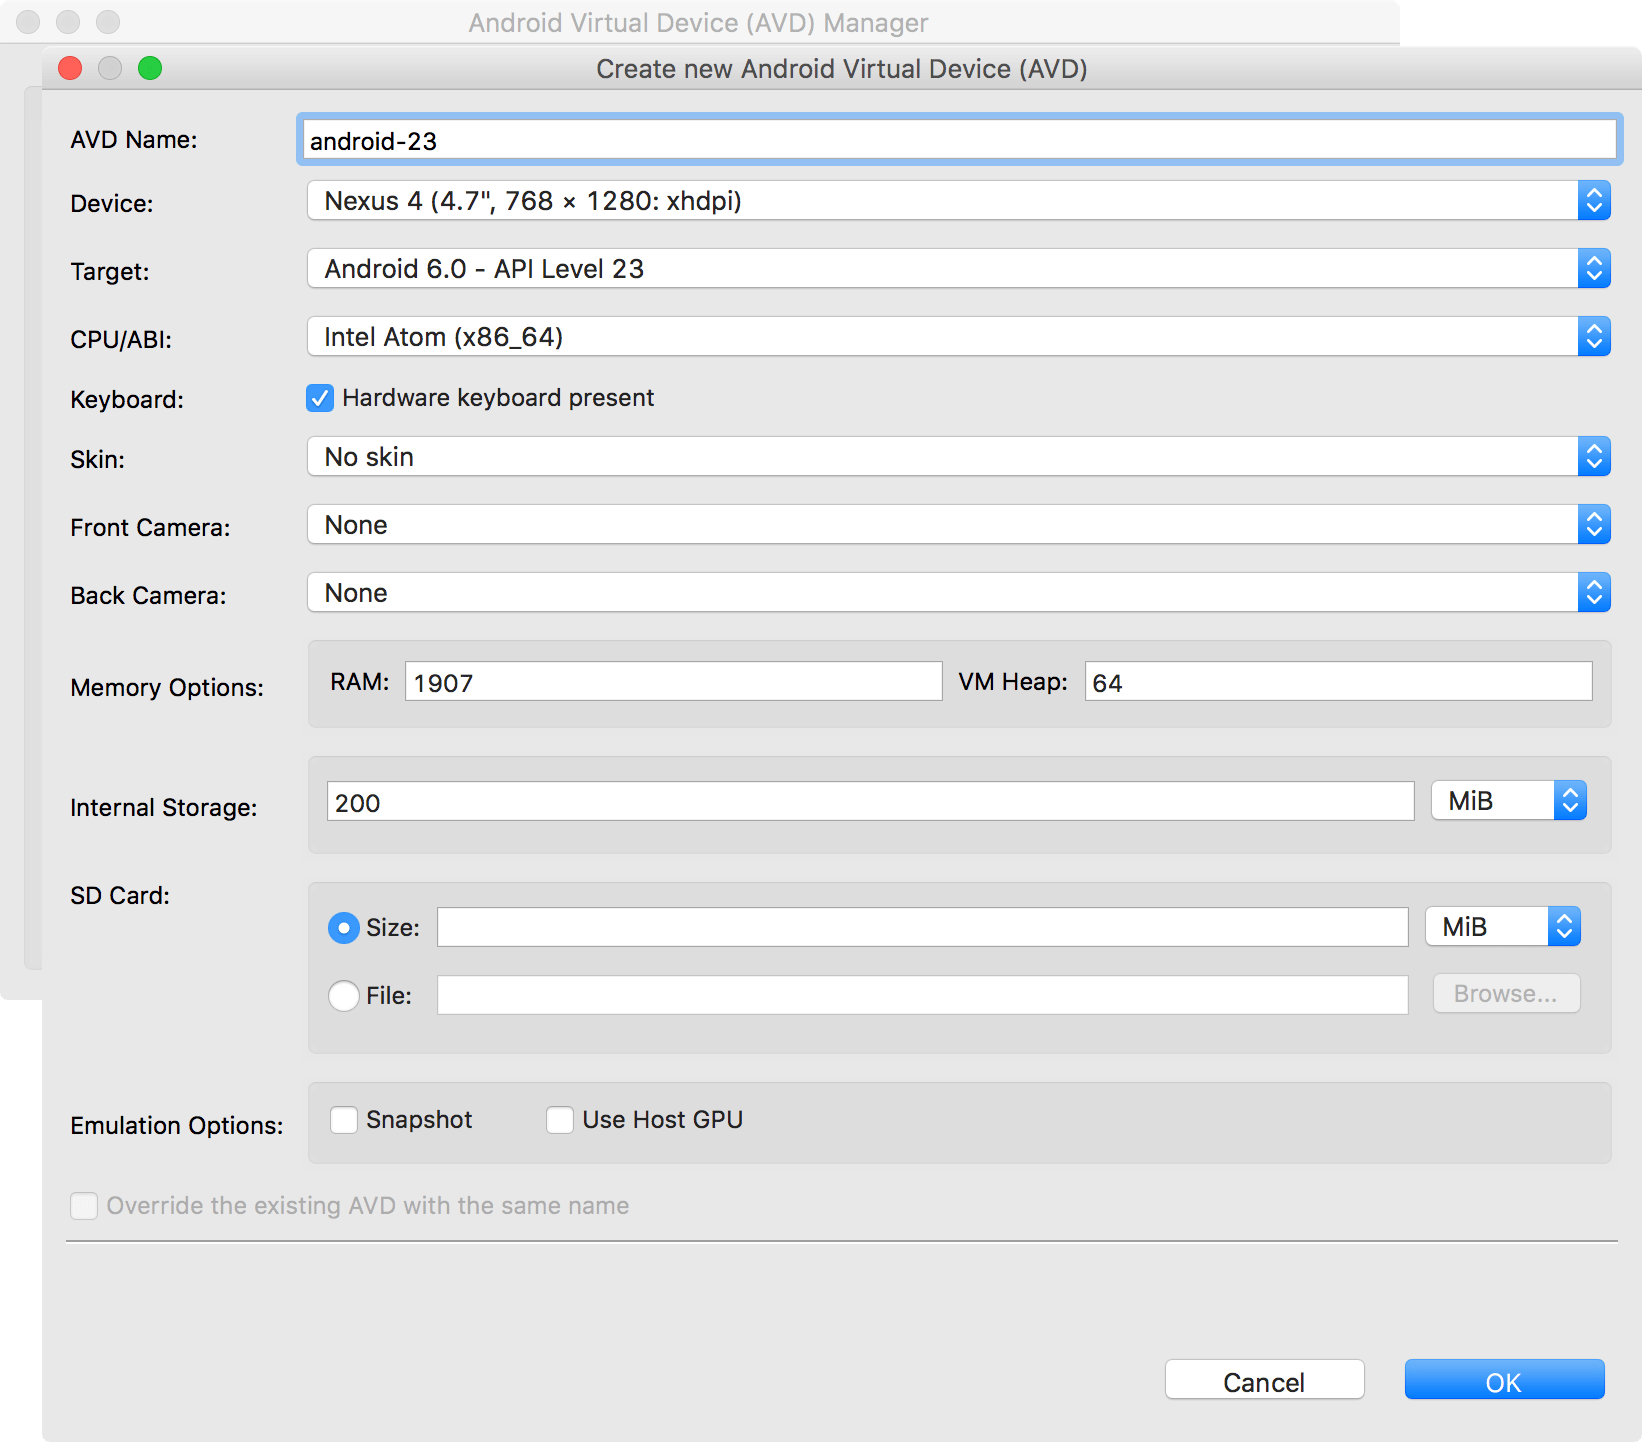
In the GUI that pops up hit the “*Create…*” button. Give your virtual device a name, select “*Nexus 4*” as the target (or use your own preference, Nexus 4 is nice and small). Set target to “*Android 6.0*” and set “*CPU to Intel Atom (x86_64)*”, or whatever is most relevant for your platform. You should be able to use the default values for the rest of the settings. Hit **OK** when done.
### Step 7: Install Intel HAXM (optional)
If you have a fairly modern Intel processor you should be able to use Intel HAXM. This is highly recommended as it makes your emulator *significantly* faster. Seriously it is really, *really*, **really** slow if you don’t use this. In fact, if you can’t or won’t use HAXM I would strongly suggest that you just use a physical Android phone, cause that emulator is **SLOW** without HAXM.
That said, if you can use HAXM, use your command prompt to navigate to the folder the Android Tools are installed to and run
~~~
extras/intel/Hardware_Accelerated_Execution_Manager/HAXM\ installation
~~~
For me this threw an error, but I was able to install it properly by running `silent_install.sh` from the same folder, but your mileage may vary.
> **Note** while the installer does not tell you to restart I highly recommend you restart anyway at this point. I did not restart myself and my Mac had a hard crash as a result when I tried to run the emulator. After rebooting it worked fine.
## Part 2: Creating and Running our App
Now that all dependencies are installed, let’s get to the fun stuff.
### Step 1: Prepare Komodo
We’re going to want to make sure our “Places” widget is pointed at your workspace / projects folder. This is the folder which will contain all your Projects (we call workspaces “Projects” in Komodo-land). To point Komodo at your Projects folder toggle the left side panel and hit the folder icon in the tab bar. Then hit the cog icon and select **Open Directory..**, and finally simply select your Projects folder.
Why did we do this? Well soon we’re going to be execut
ing some shell commands and for this to work properly we need Komodo to know where to execute the shell commands from. Komodo uses your “Places” directory as the current working directory.
### Step 2: Bootstrap Cordova HelloWorld app
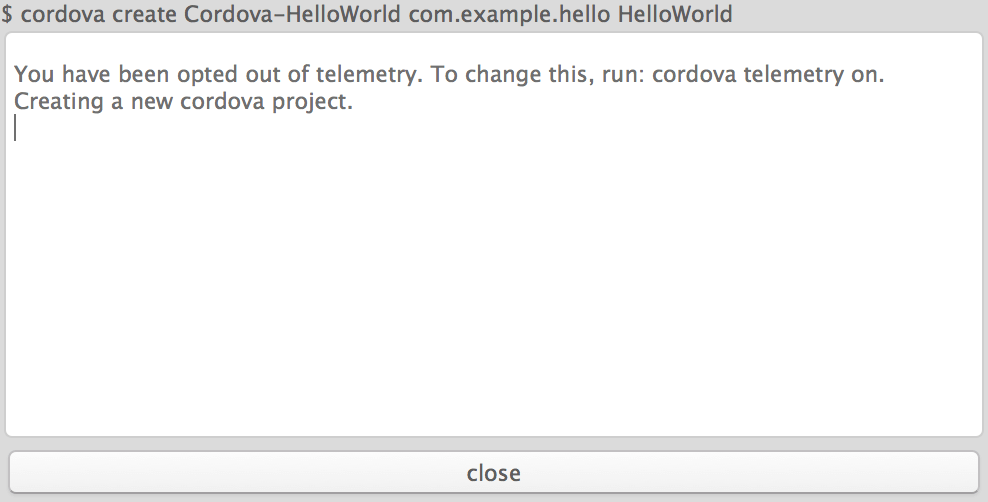
Next up we’re gonna create our Cordova Project. Open up Commando (AKA Komodo’s Go To Anything panel) by pressing **Ctrl+Shift+O**, or **Cmd+Shift+O** if you are on OSX. Then navigate to **Shell** > **Cordova** > **create**. You’ll note Commando shows you the arguments that you can use.
Enter the following:
~~~
Cordova-HelloWorld com.example.hello HelloWorld
~~~
This will create a “HelloWorld” app under the Cordova-HelloWorld folder. This folder will be placed in the folder you have open in your Places widget (see step 1 above).

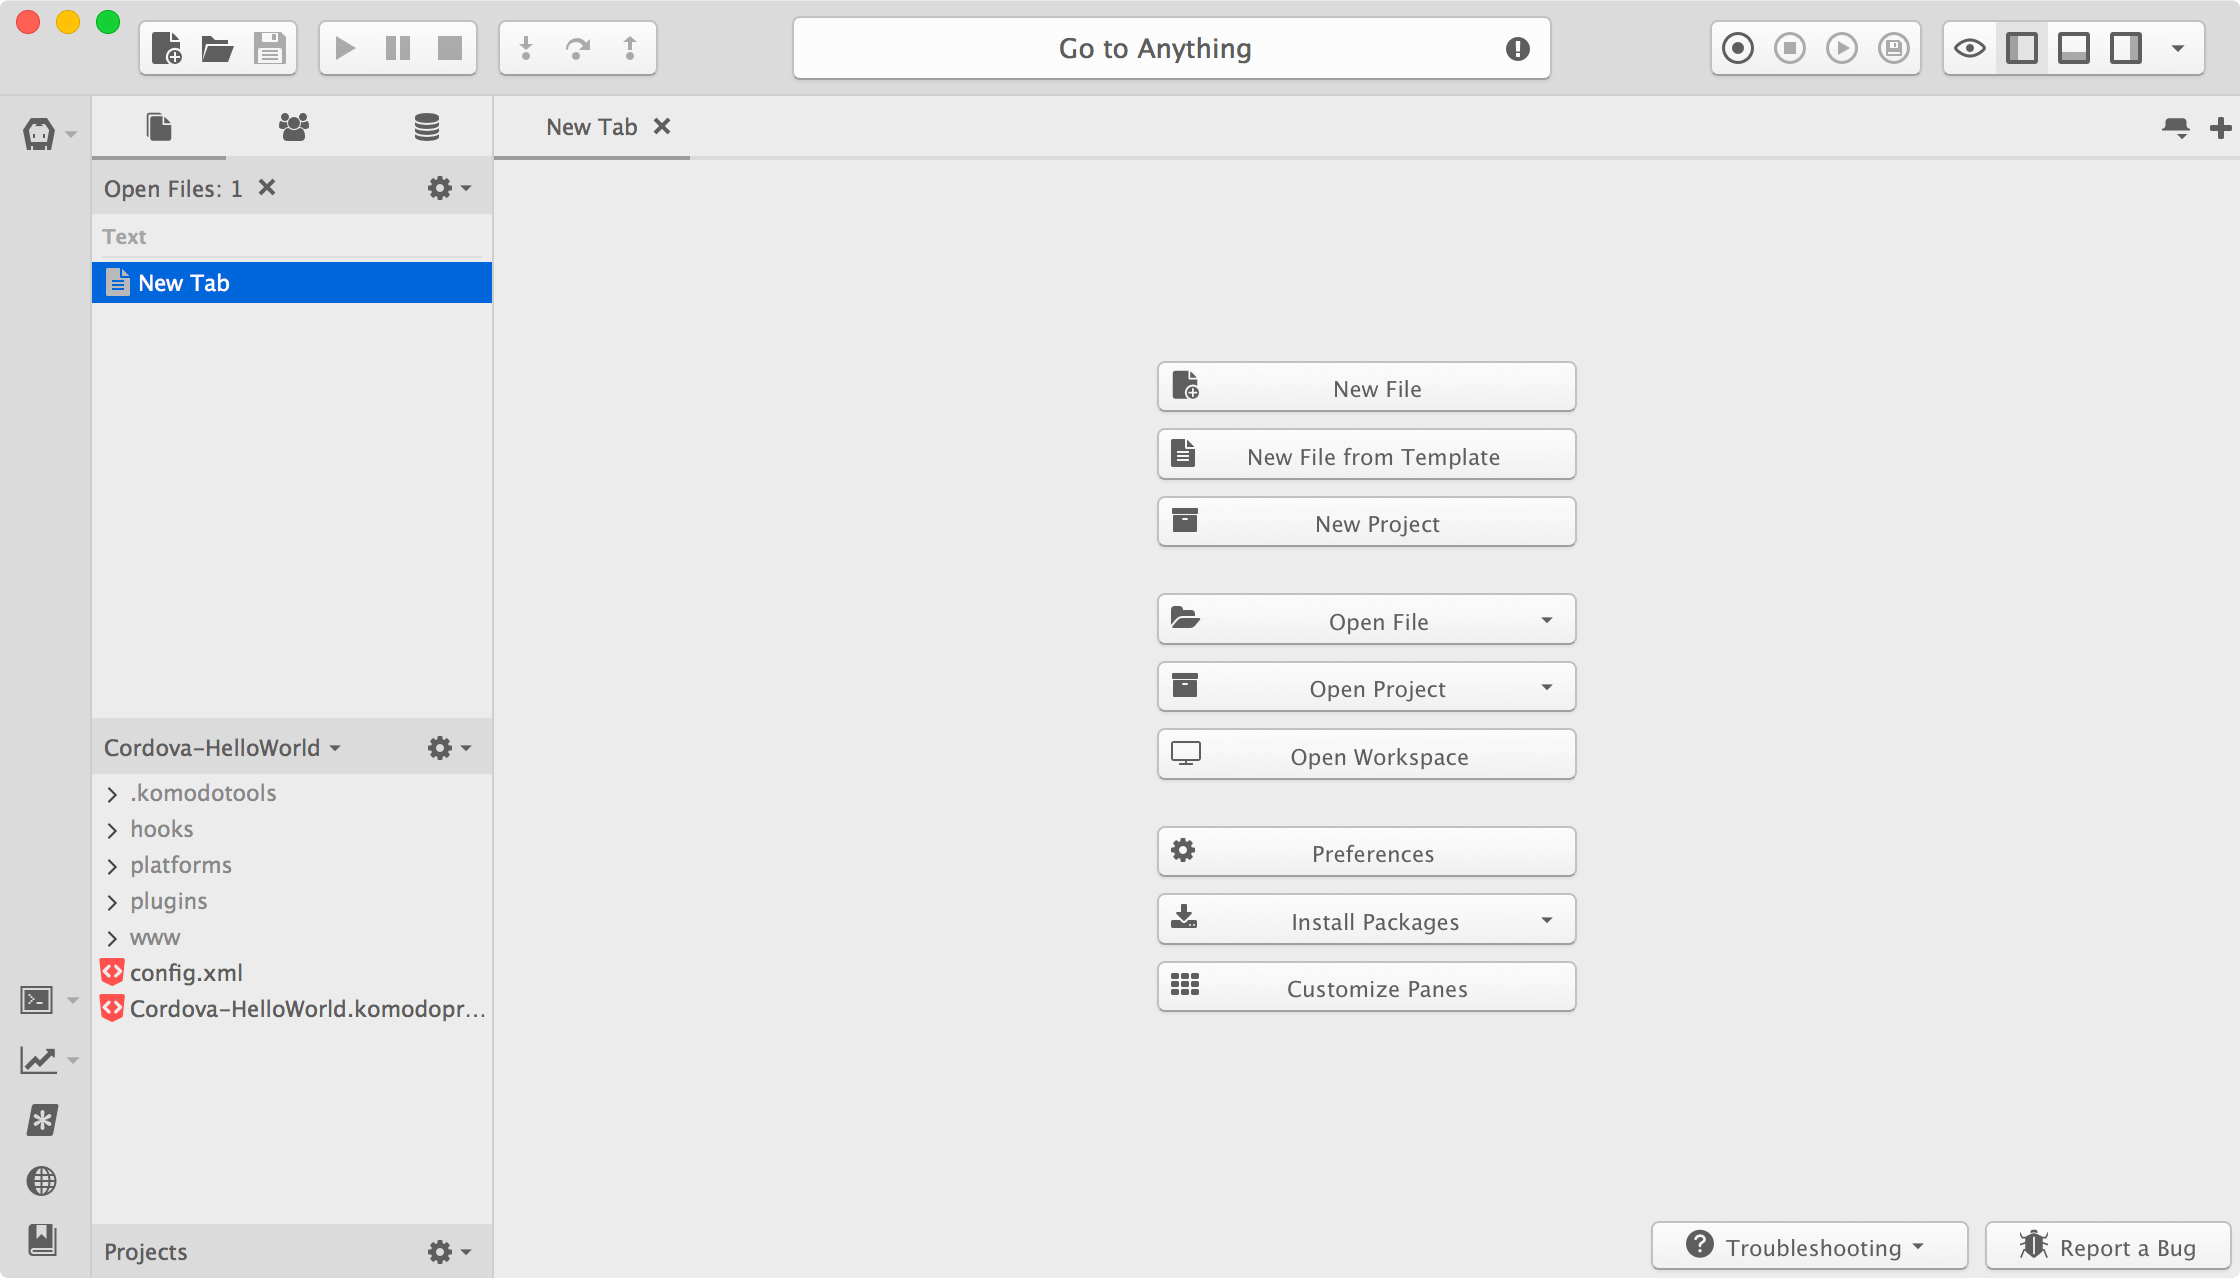
### Step 3: Create our Komodo Project
Now that Cordova has bootstrapped the workspace for us we’re going to createa Komodo project in it. Hit the **Project** menu (found inside the Unified menu button on the right side of the toolbar if you are a Windows or Linux user), then hit **New Project…**. Navigate to the folder we just created using Cordova (*Cordova-HelloWorld*) and give your project a name, then confirm.
Komodo’s Places widget will change its scope to the Cordova-HelloWorld folder – we’re in business.
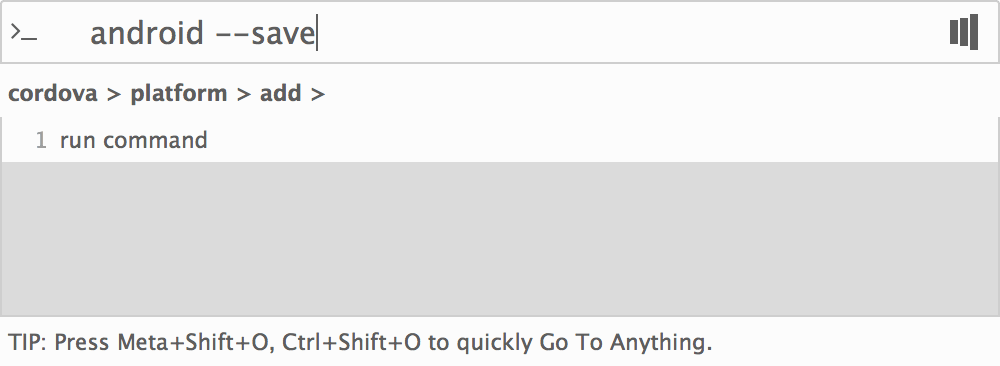
### Step 4: Add an Android Platform
By default Cordova is not actually configured with any platforms. Meaning we have our base application structure, but we can’t actually build it to run on anything yet. So let’s tell Cordova we want to run our application on Android. This is easily done, open up *Commando* again (see step 2) and navigate to **Shell** > **Cordova** > **platform** > **add**, enter the following:
~~~
android –save
~~~
Cordova will configure Android for you and instruct you in case there are any errors.
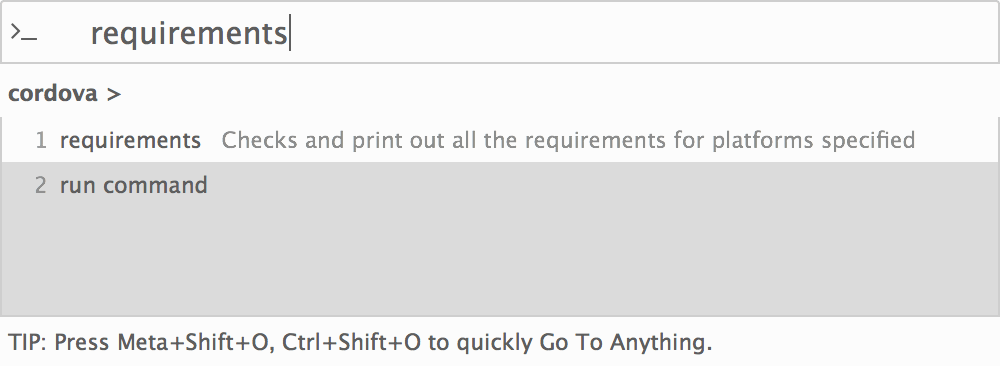
### Step 5: Verify Requirements
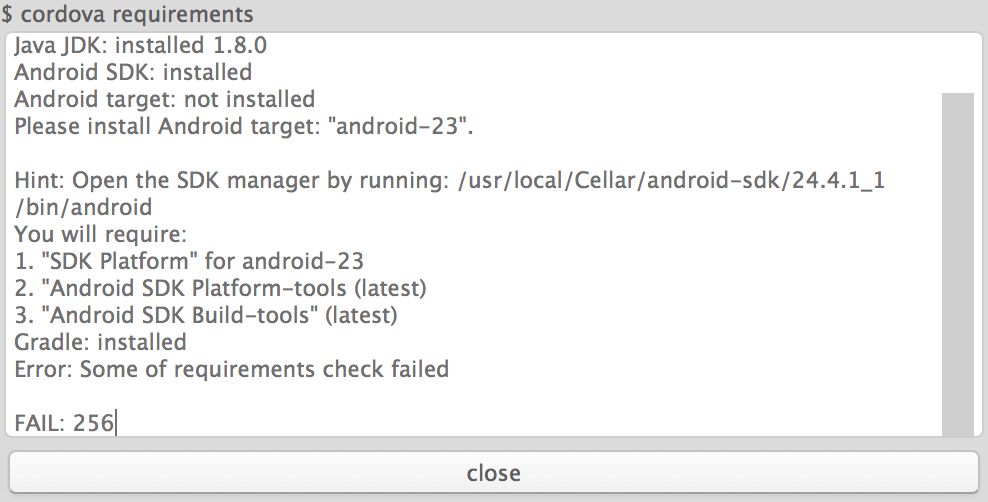
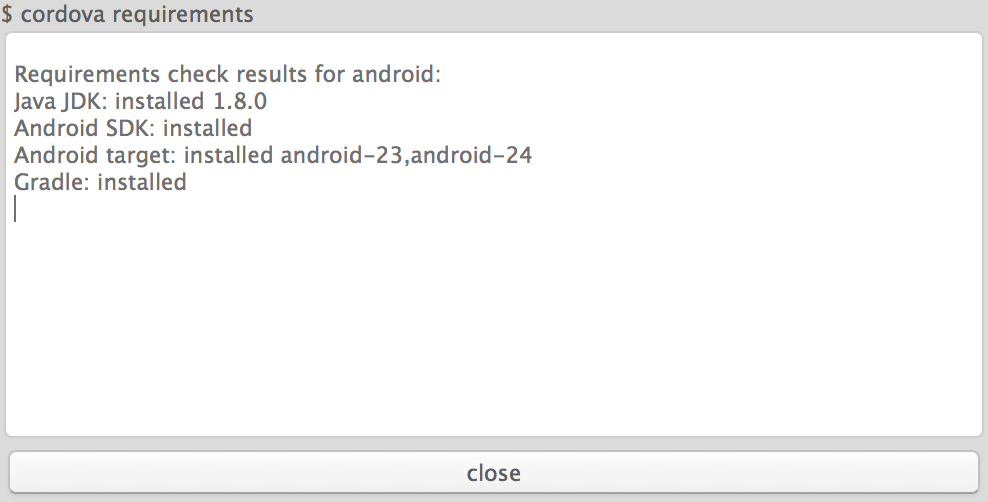
Now that Cordova is aware of how you intend to use your Application you can ask it to verify whether you meet all the requirements. Open up *Commando* again and navigate to **Shell** > **Cordova** > **requirements**, hit **Enter**.
Cordova will list the requirements and indicate whether you meet them. If you do not meet some of the them, Cordova will instruct you on how to meet the requirement.
### Step 6: Build Our App
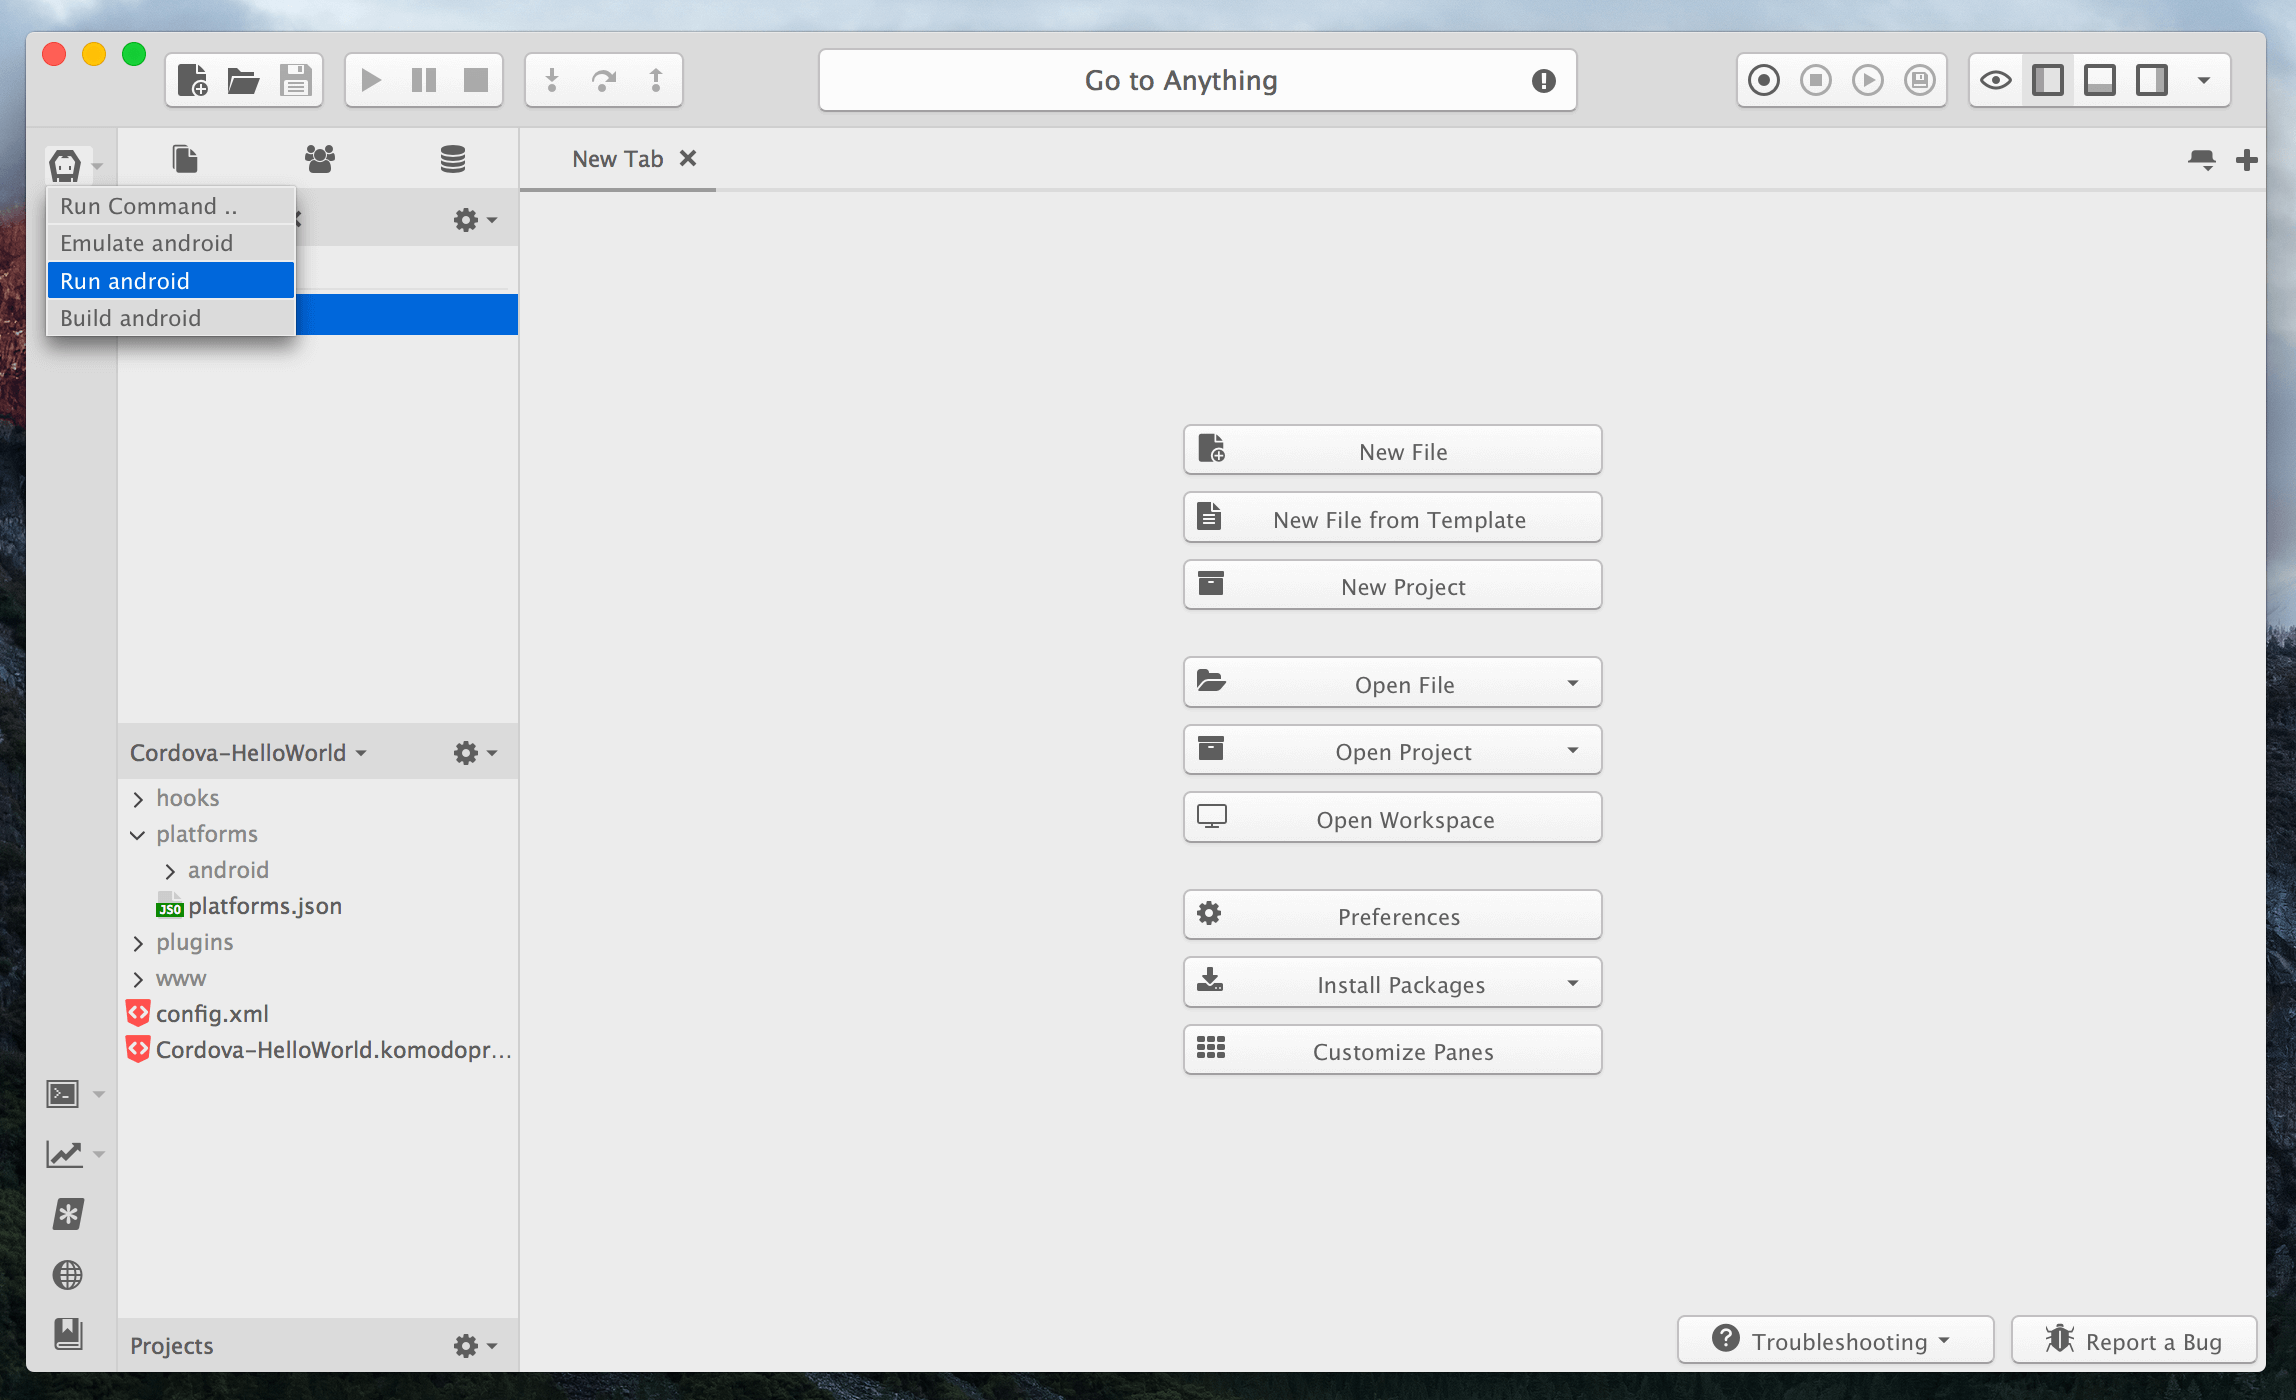
Let’s get down to business! Look at the left vertical toolbar in Komodo, this is called the *dynamic toolbar*, you should see a Cordova icon there. When you hit the arrow it will list you all the available commands. Note also that it gives you a “*Run Command ..*” option, this will instantly open Commando and navigate to *Shell* > *Cordova* for you, very useful!
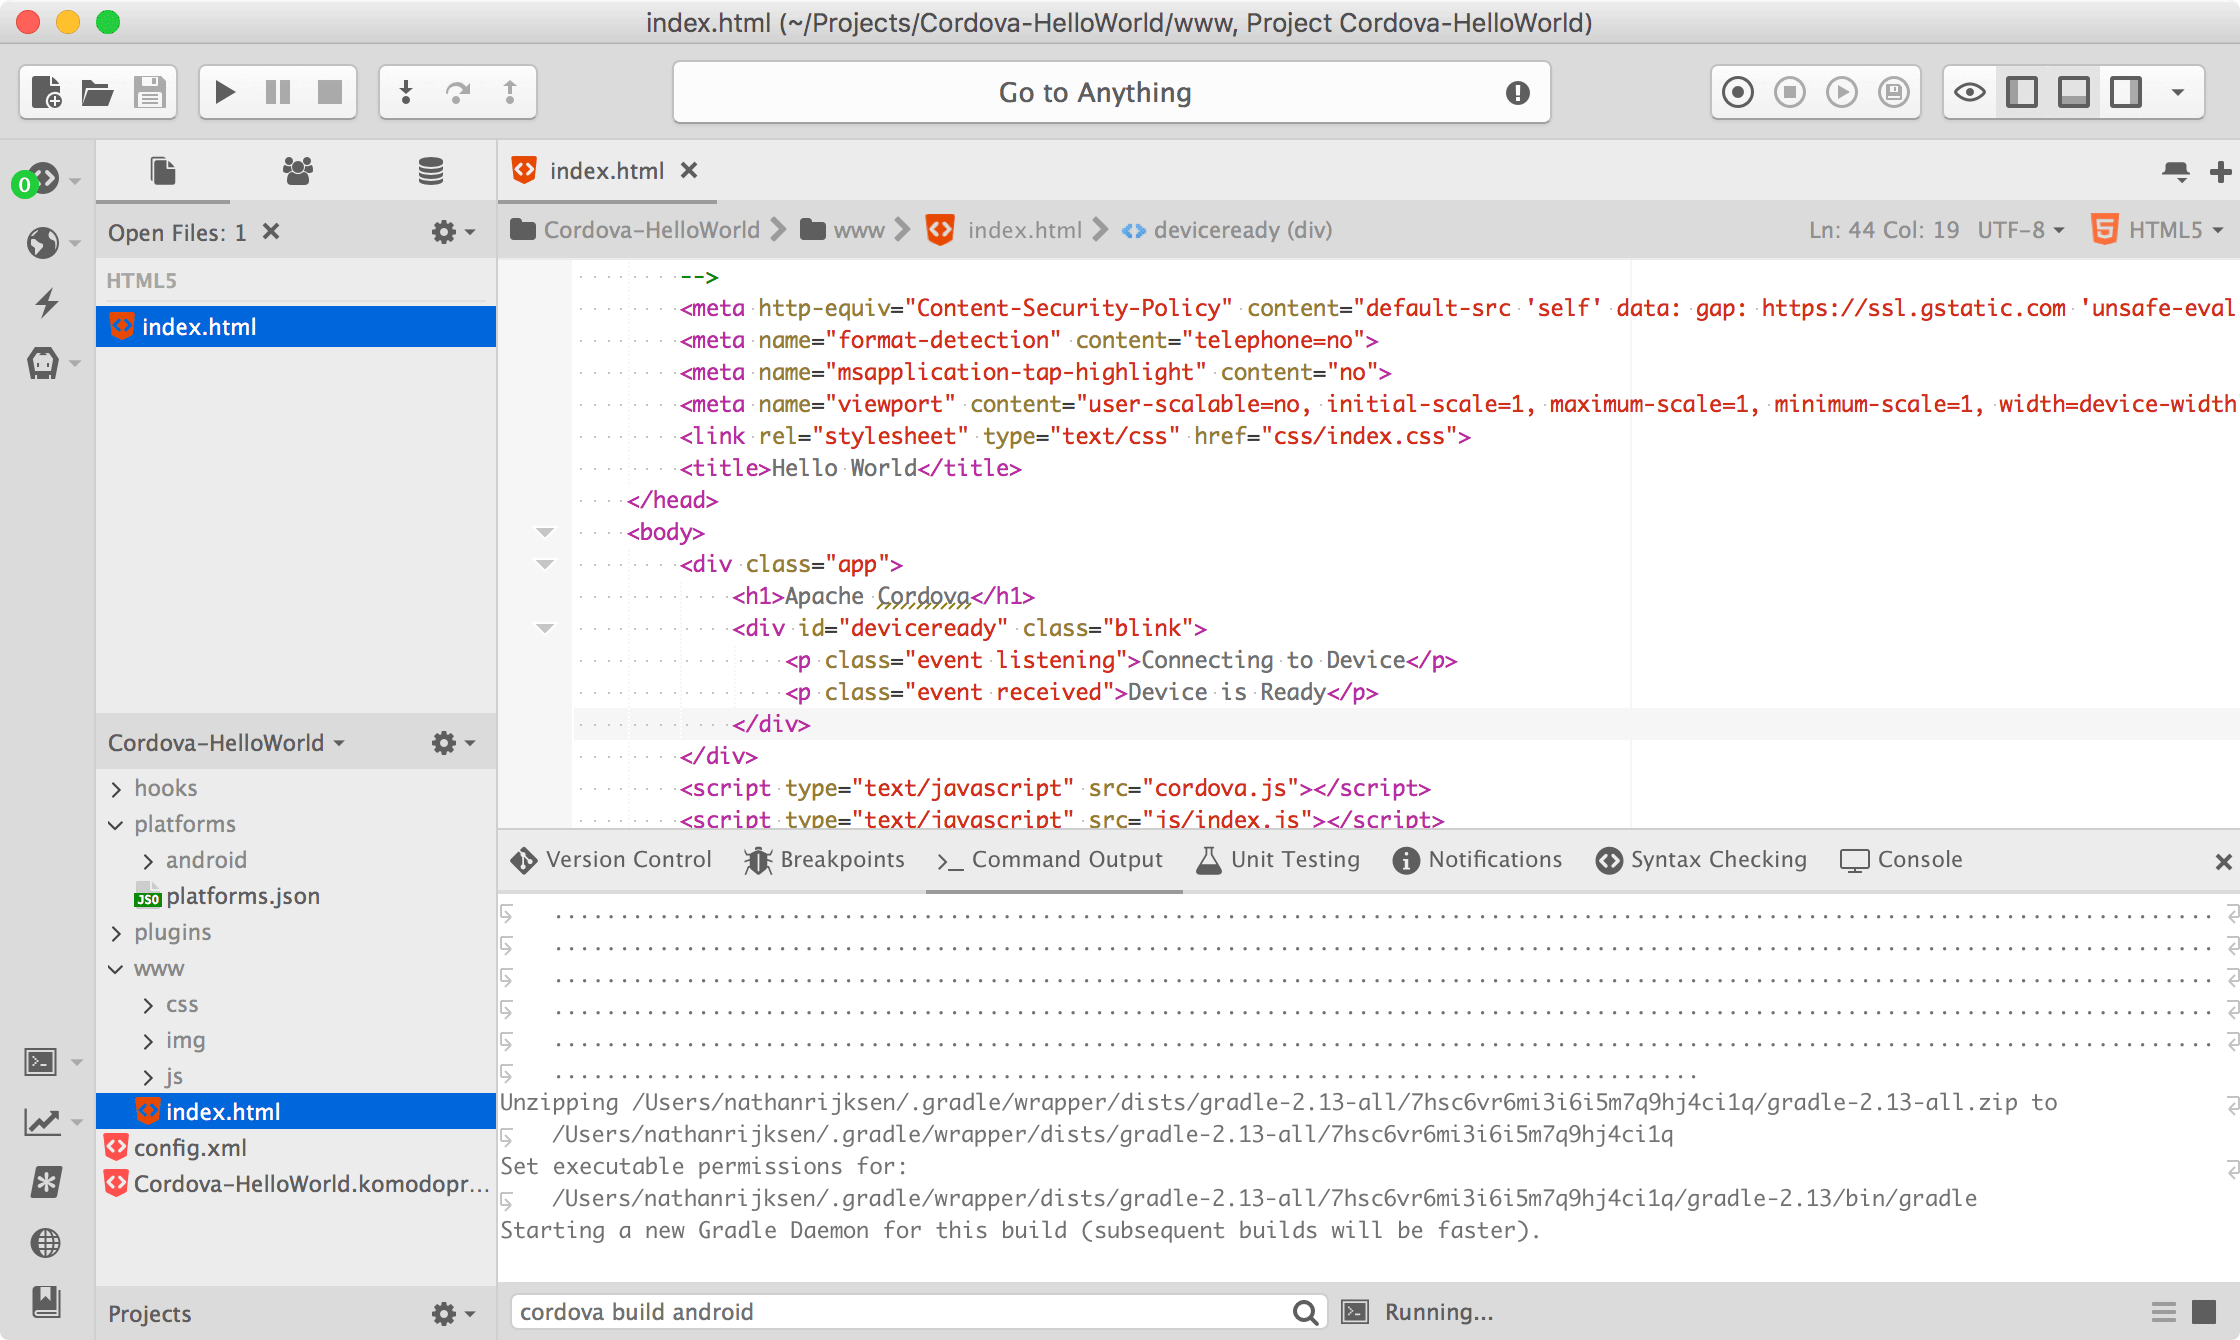
We want to build our app though, so go ahead and hit the **Build android** option.
The bottom panel will open where you can see and interact with the process of the running command. Let it run until the build is complete.

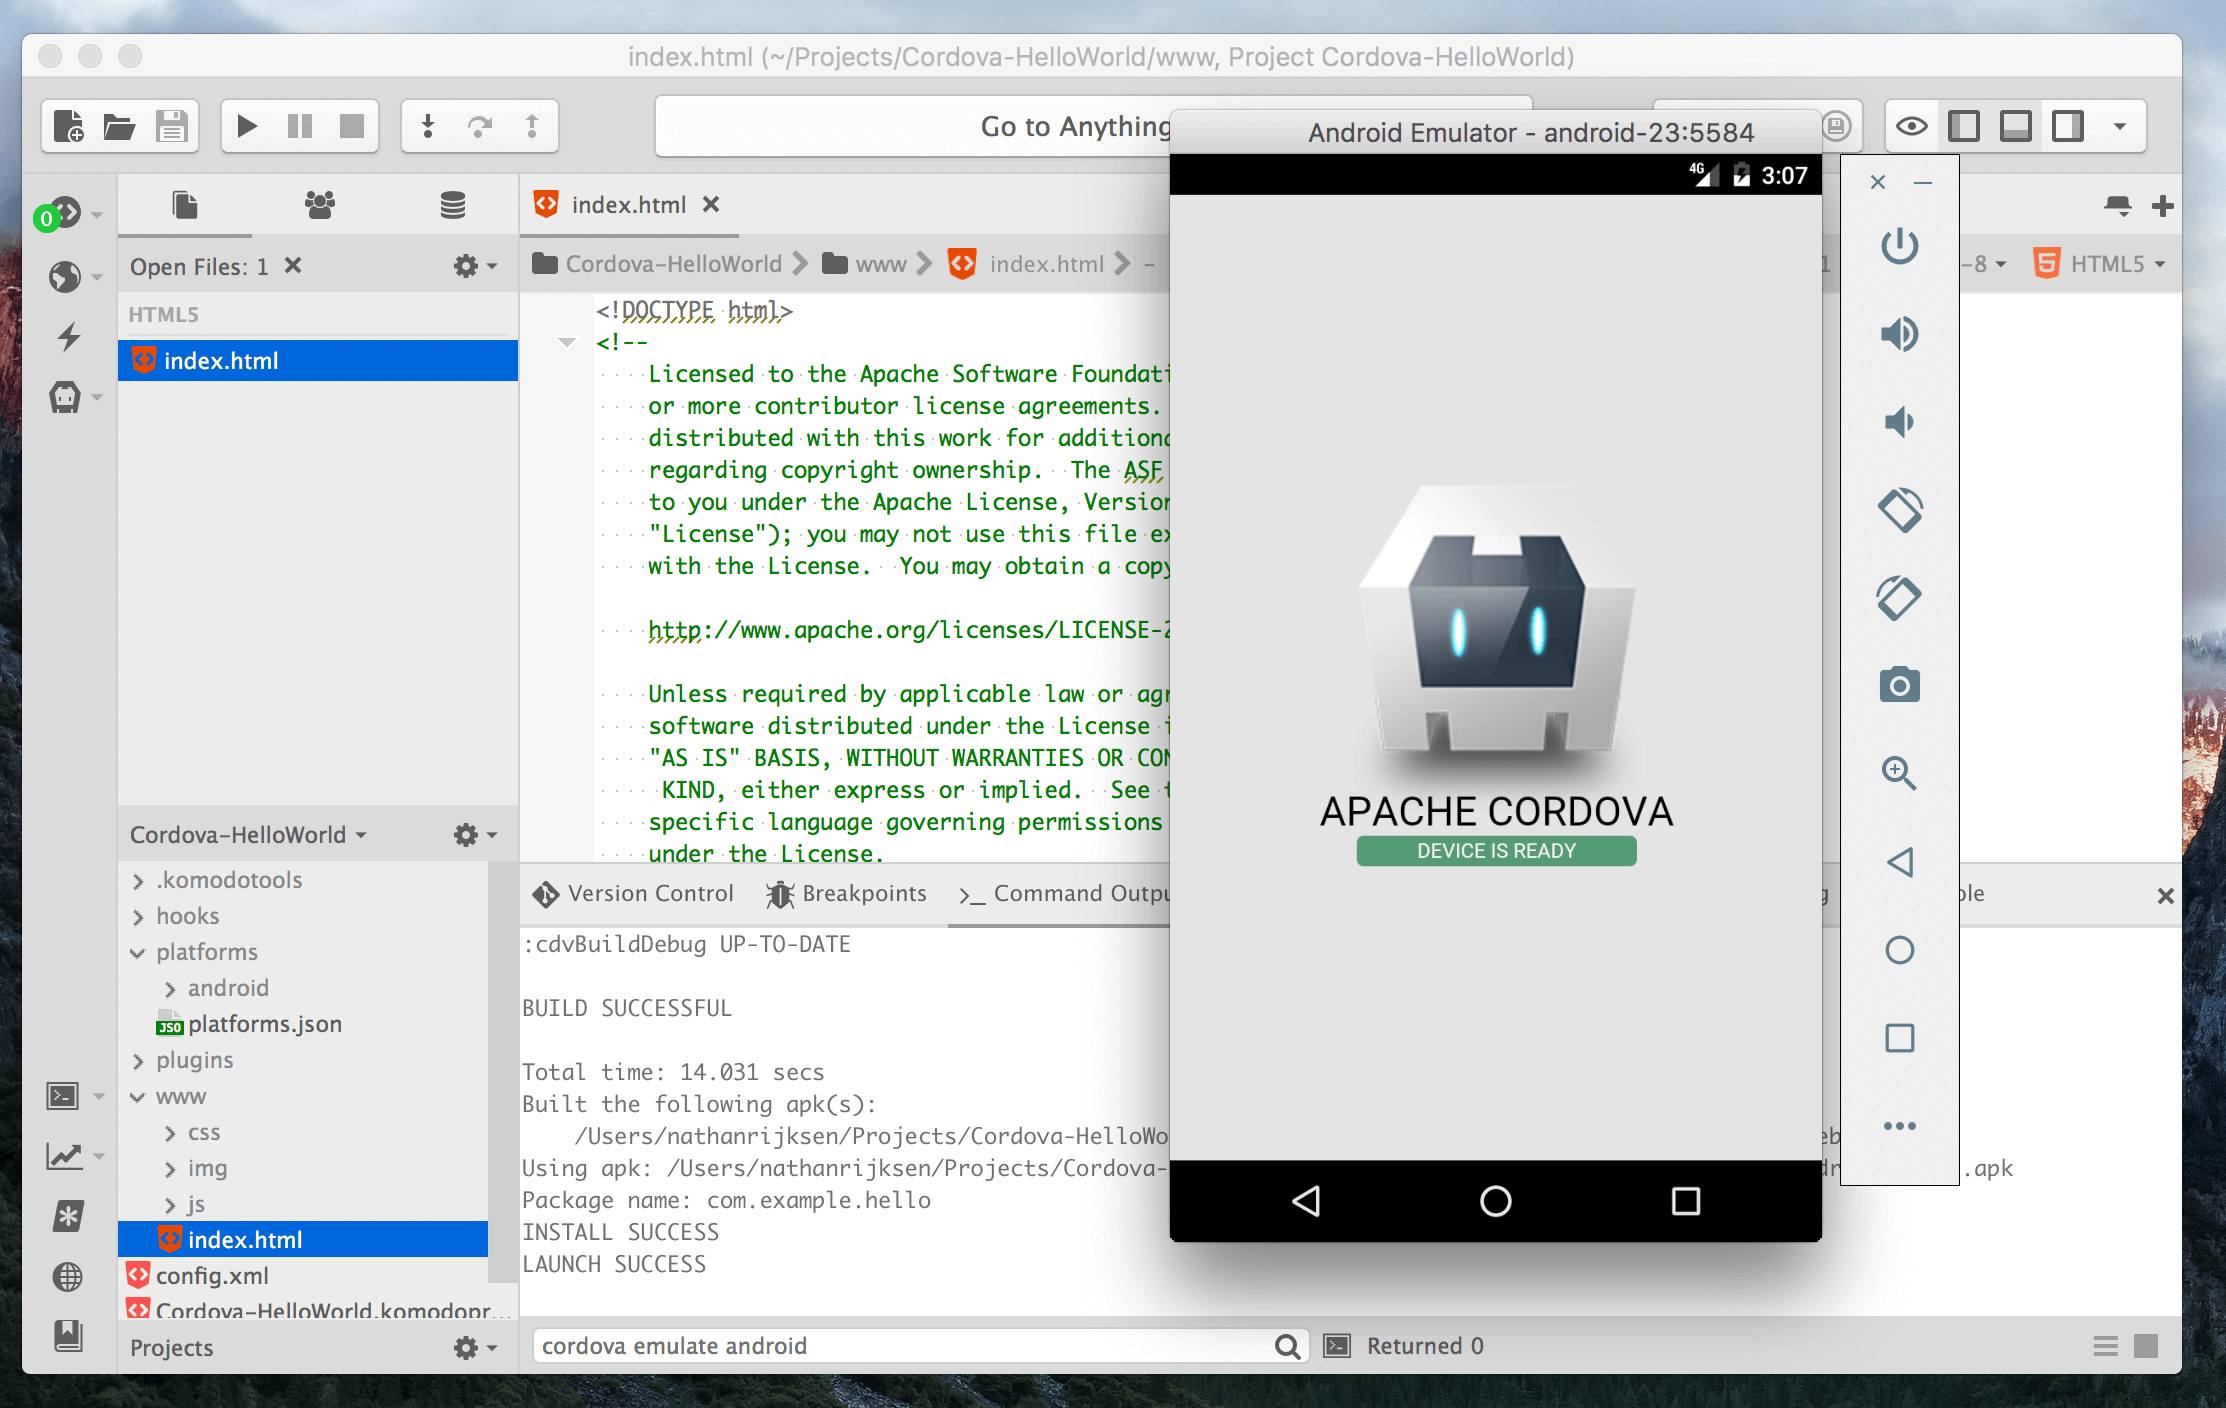
### Step 7: Run Our App!
Once our app is built we can now run it! Hit the Cordova icon in the *dynamic toolbar* (left vertical toolbar) and select “Emulatoe android”. Komodo will invoke the emulator we configured earlier and .. run our app!
## Final Notes
You’re now ready to develop your Android app using web technologies. You can also delve deeper into Cordova by adding (for example) an iPhone platform, or playing with some Cordova plugins. Check the [Cordova documentation](https://cordova.apache.org/docs/en/latest/) for further instructions. From this point on Komodo simply facilitates you to run the Cordova command line client right from Komodo, as well as in working with any number of web technologies.