.NET
Secure .NET for the Enterprise
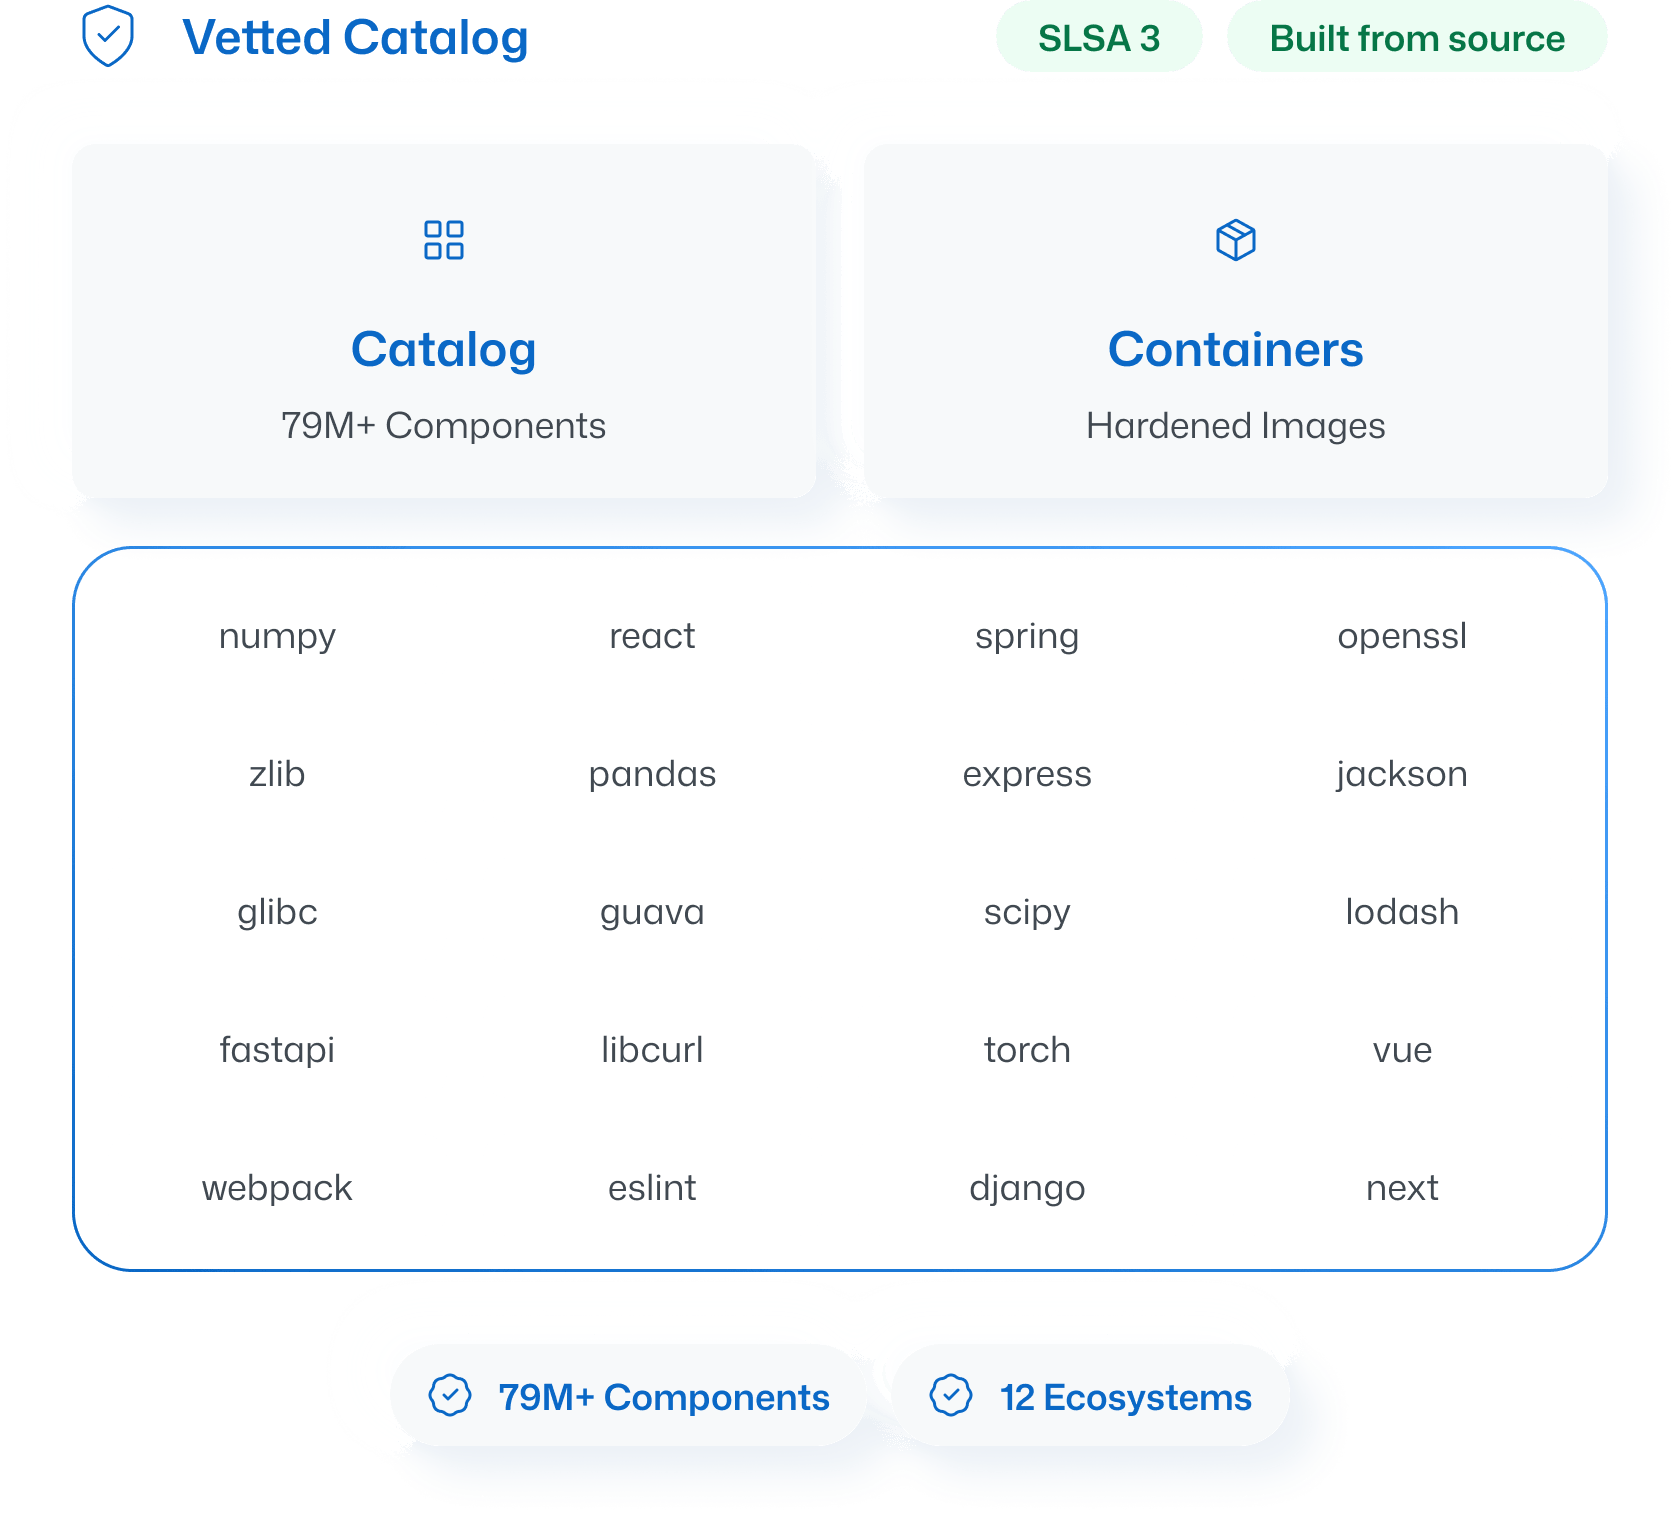
ActiveState builds .NET packages from source with full provenance and delivers them through NuGet and your existing artifact repositories, so your enterprise applications run on verified code.
%20(1).webp)
NuGet packages from a verified source
NuGet.org hosts community-uploaded packages without build verification. ActiveState builds .NET packages from source in SLSA Level 3 infrastructure, with full provenance and verified licensing for every component.
Native integration with NuGet and dotnet CLI
Direct delivery through Artifactory, Nexus, and Azure Artifacts
Full SBOM and build provenance for every package
Hybrid cloud applications need a unified security posture
.NET applications run across Windows, Linux, and containers. ActiveState covers .NET packages alongside 11 other language ecosystems from a single catalog, so your security posture is consistent regardless of where your .NET code deploys.
FAQs
Does ActiveState work with my existing .csproj files?
Yes. Configure your Curated Catalog as a NuGet source, and dotnet resolves packages from it the same way it resolves from NuGet.org. Existing project files and CI/CD pipelines work without changes.
What about .NET Framework vs. .NET Core?
ActiveState covers the .NET ecosystem broadly. Talk to our team about your specific version requirements and we'll configure a catalog that matches your environment.
How does ActiveState handle Windows-specific .NET dependencies?
ActiveState builds .NET packages for the platforms your applications target, including Windows, Linux, and containerized environments.
What about private packages alongside ActiveState packages?
Your Curated Catalog integrates with your existing artifact repository, so private packages and ActiveState packages coexist in the same registry without conflicts.
Still have questions?
Talk to our team.
Secure Your .NET Supply Chain
Talk to our team about a Curated Catalog for your .NET ecosystem, or try a free secure container from the ActiveState Catalog.
%20(1).webp)