You don’t have to develop something complicated or overly engineered – a classic 2D scrolling game will get the ball rolling.
Let’s get started.
How to Work with PyGame
We’re going to create a simple scrolling game using the following steps:
- Install Python and PyGame
- Implement a background
- Scroll the background
- Add a moving sprite tied to mouse movement
- Put it all together
Step 1 – Install PyGame
The first step is to install a version of Python 3 (such as ActivePython 3.8), and then install pygame from the command line using pip:
python3 -m pip install -U pygame
Step 2 – Implement a Background in PyGame
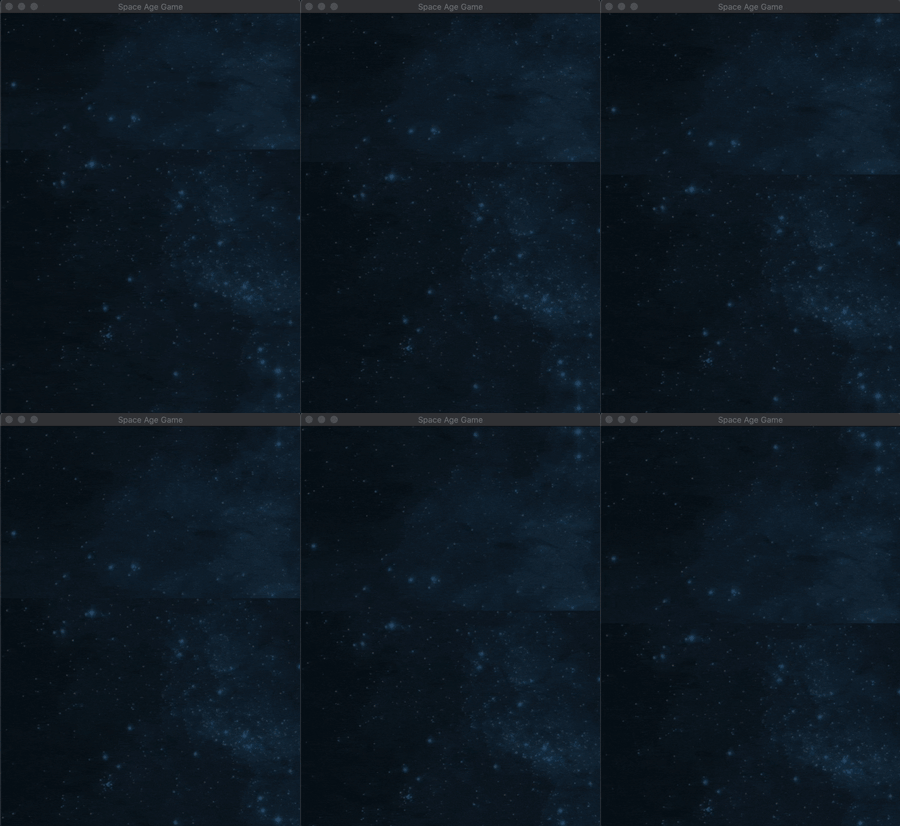
To keep it simple, we’ll create a very basic window with a background picture. For the purpose of learning game development skills, the best approach is to develop a series of small programs that offer just one feature, and then combine them into larger programs when you get more comfortable with the code.
Create a new Python file called background_picture_game.py with the following contents:
import pygame
import sys
import os
from pygame.locals import *pygame.init()  # initialize pygame
clock = pygame.time.Clock()
screen = pygame.display.set_mode((600, 480))# Load the background image here. Make sure the file exists!
bg = pygame.image.load(os.path.join("./", "background.png"))
pygame.mouse.set_visible(0)
pygame.display.set_caption('Space Age Game')# fix indentationwhile True:
    clock.tick(60)
    screen.blit(bg, (0, 0))
    x, y = pygame.mouse.get_pos()    for event in pygame.event.get():
        if event.type == pygame.QUIT:
            sys.exit()    pygame.display.update()
The above code:
- initializes pygame with init()
- Sets the screen dimension with display.set_mode()
- Loads an image with image.load()
Make sure that you have a background.png image in the same folder as the background_picture_game.py file (any picture will do).
This main game loop will be inserted after the while True statement, where:
- clock.tick(60) (60 FPS) syncs with the frame rate
- The screen.blit() method draws the image at the initial coordinates
- Pressing the ESC key will exit the game, based on code that listens for exit events
- You can also get the current mouse position using mouse.get_pos()
Now, let’s run the program on the command line, using:
python3 background_picture_game.py
Step 3 – Scroll a Background in PyGame
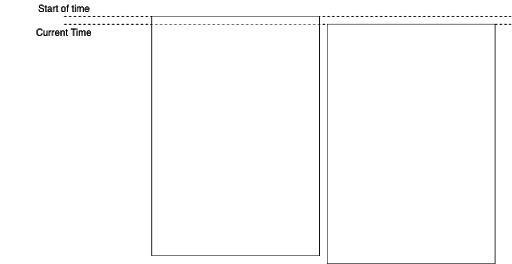
Now that you know how to add a background, let’s make it more interactive by scrolling it the same way that good old games like 1942 did. First, we’ll need to display the background when we load the app, and then scroll it vertically by moving the y-axis on each update, as shown in the diagram below:
We can encapsulate the logic for the background scroll in a class by setting the image file and screen height as parameters:
class ScrollingBackground:
    def __init__(self, screenheight, imagefile):
        self.img = pygame.image.load(imagefile)
        self.coord = [0, 0]
        self.coord2 = [0, -screenheight]
        self.y_original = self.coord[1]
        self.y2_original = self.coord2[1]
To show the background each time we update, we can use the surface.blit method to draw the image in the current coordinates:
def Show(self, surface):
    surface.blit(self.img, self.coord)
    surface.blit(self.img, self.coord2)
Then we need to update the coordinates of the image so that the background will shift downward the next time we update. Here, we use the classical mechanics of motion and calculate the distance using speed and time:
def UpdateCoords(self, speed_y, time):
    distance_y = speed_y * time
    self.coord[1] += distance_y
    self.coord2[1] += distance_y
    if self.coord2[1] >= 0:
        self.coord[1] = self.y_original
        self.coord2[1] = self.y2_original
Now let’s add all this code to the main loop. First, create a new file named scrolling_background_game.py and then add the code for the ScrollingBackground class as follows:
pygame.init()  # initialize pygame
clock = pygame.time.Clock()
screenwidth, screenheight = (480, 640)
screen = pygame.display.set_mode((screenwidth, screenheight))
# Set the framerate
framerate = 60
# Set the background scrolling speed
bg_speed = 100
# Load the background image here. Make sure the file exists!
StarField = ScrollingBackground(screenheight, "background.png")
pygame.mouse.set_visible(0)
pygame.display.set_caption('Space Age Game')
# fix indentation
while True:
    time = clock.tick(framerate)/1000.0
    x, y = pygame.mouse.get_pos()
    for event in pygame.event.get():
        if event.type == pygame.QUIT:
            sys.exit()    # Set new Background Coordinates and update the screen
    StarField.UpdateCoords(bg_speed, time)
    StarField.Show(screen)
    pygame.display.update()
Note that the scrolling speed is divided into thousands of a second (time/1000) so we can have fine tuned control over how fast the background may scroll, and then we update the coordinates and render the image again after each loop.
Here is a short demo of our game so far:
This picture is moving!
Step 4 – Add a Moving Sprite in PyGame
Now we can add a sprite in the shape of a spaceship that the user commands via the mouse. We can create a new class called HeroShip with the following code:
class HeroShip:
    def __init__(self, screenheight, screenwidth, imagefile):
        self.shape = pygame.image.load(imagefile)
        self.top = screenheight - self.shape.get_height()
        self.left = screenwidth/2 - self.shape.get_width()/2
    def Show(self, surface):
        surface.blit(self.shape, (self.left, self.top))
    def UpdateCoords(self, x):
        self.left = x-self.shape.get_width()/2
The above code defines the top and left coordinates of the ship taken from the dimension of the window. We want to restrict movement along the x-axis, so we only update the left coordinate. The x parameter in the UpdateCoords method is provided by the current mouse position.
Step 5 – Run the Game Using PyGame
Now we can update our main program code by adding the following snippet just before the while loop:
Hero = HeroShip(screenheight, screenwidth, "ship.png")
Don’t forget to create a picture of a ship, name it ship.png and include it in our project folder. Then we can add the following code inside the while loop:
x, y = pygame.mouse.get_pos()
Hero.UpdateCoords(x)
Hero.Show(screen)
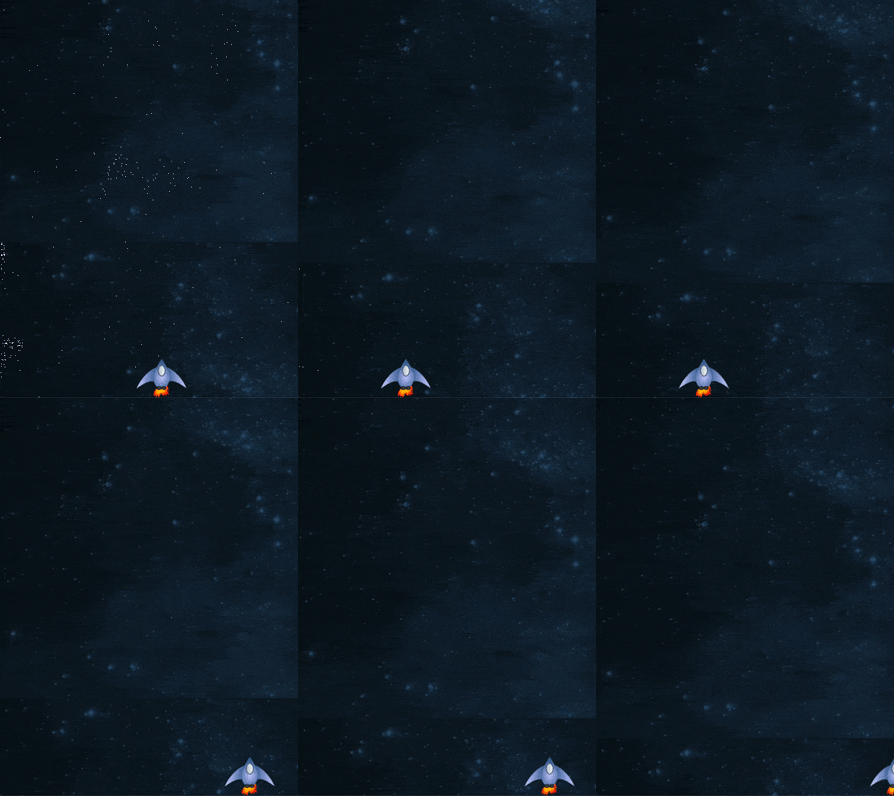
Now if we re-run the game, we should be able to see the spaceship and move it along the x-axis using the mouse:
Next Steps
We’ve now learned to implement backgrounds and sprites, and make them move. You can continue learning and practicing game development with PyGame by creating more features, incrementally adding code to do things like:
- Make the spaceship shoot lasers.
- For example, we can listen for mouse down click events (event.type == MOUSEBUTTONDOWN) and then update the laser shot position. You can encapsulate the laser shot into a class that updates its y-axis coordinates and re-renders itself. The laser shot will follow as you move around the x-axis.
- Add moving enemies that can be destroyed when a laser shot crosses their path.
- To do that properly will require AI to control the enemies, as well as collision detection, both of which are more advanced topics. For one approach, refer to a previous blog post, Building Game AI Using Machine Learning.
The possibilities are endless. Pygame makes it really easy to create games just like the old classics of Gataga or Space Invaders, but also makes it fun in the process.
Hopefully, this tutorial has inspired you to design and create new games, as well as learn more about game development.
Related Reads
Building Game AI Using Machine Learning: Working with TensorFlow, Keras, and the Intel MKL in Python


